Addresses | Purchase Order System
Addresses allow you to dictate where you would like the goods/services to be sent and also where you would like the invoice to be sent. The system allows you to set up multiple addresses to cover multiple scenarios.
New Delivery Address
To create a new delivery address, select from the New Menu.
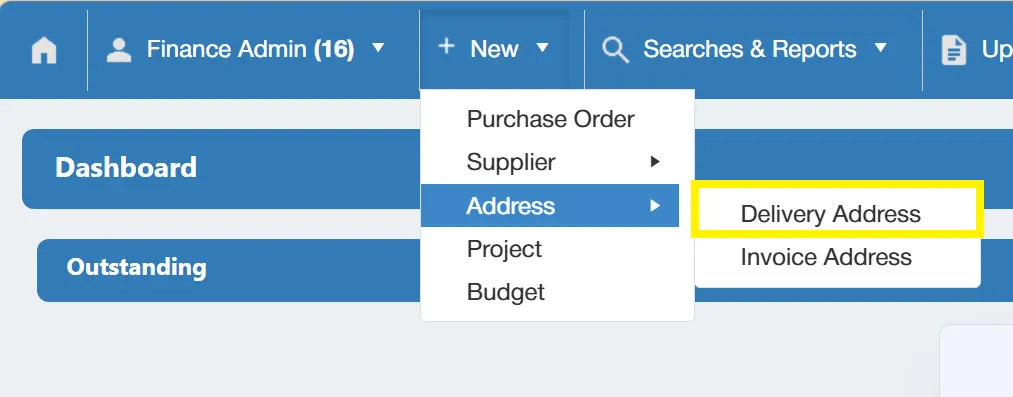
This will open a new window with various fields allowing you to fill in the relevant delivery address details.
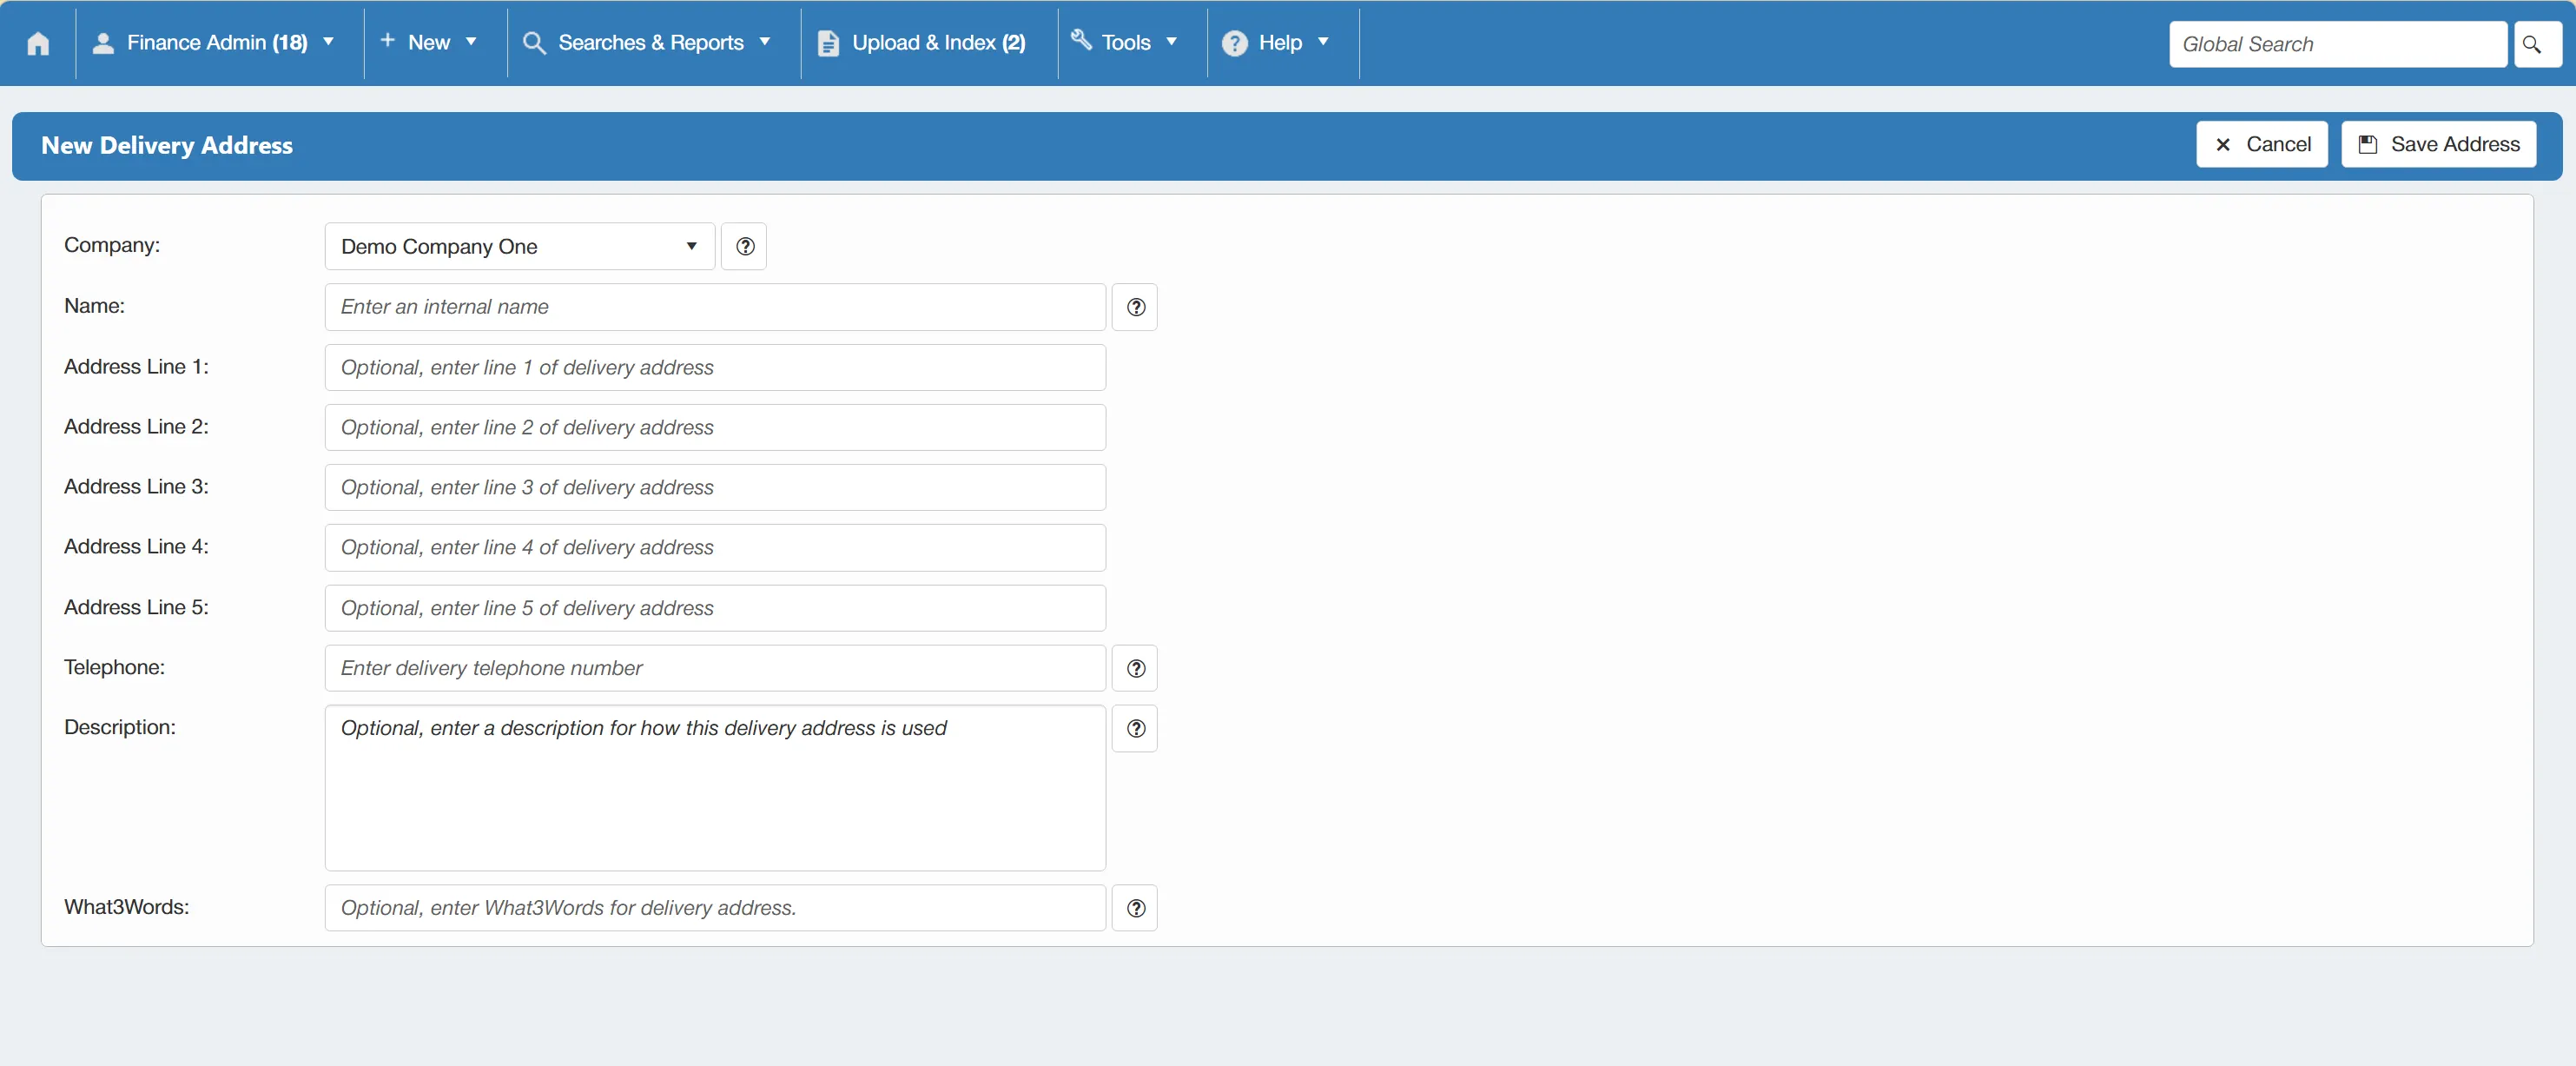
Once you are happy with the details, click to commit the address to the system.
Only users with the Address Admin permission enabled can create delivery addresses. For more information on permissions, click here.
Existing Delivery Address
Users with the Address Admin permission have the ability to edit existing delivery addresses.
For more information on user permissions, click here.
To edit an existing delivery address, you must first find and select it from the Delivery Addresses Grid.
For more information on searching for delivery addresses, click here
Once you have found the delivery address you wish to edit, open it by clicking on the relevant line in the search grid.
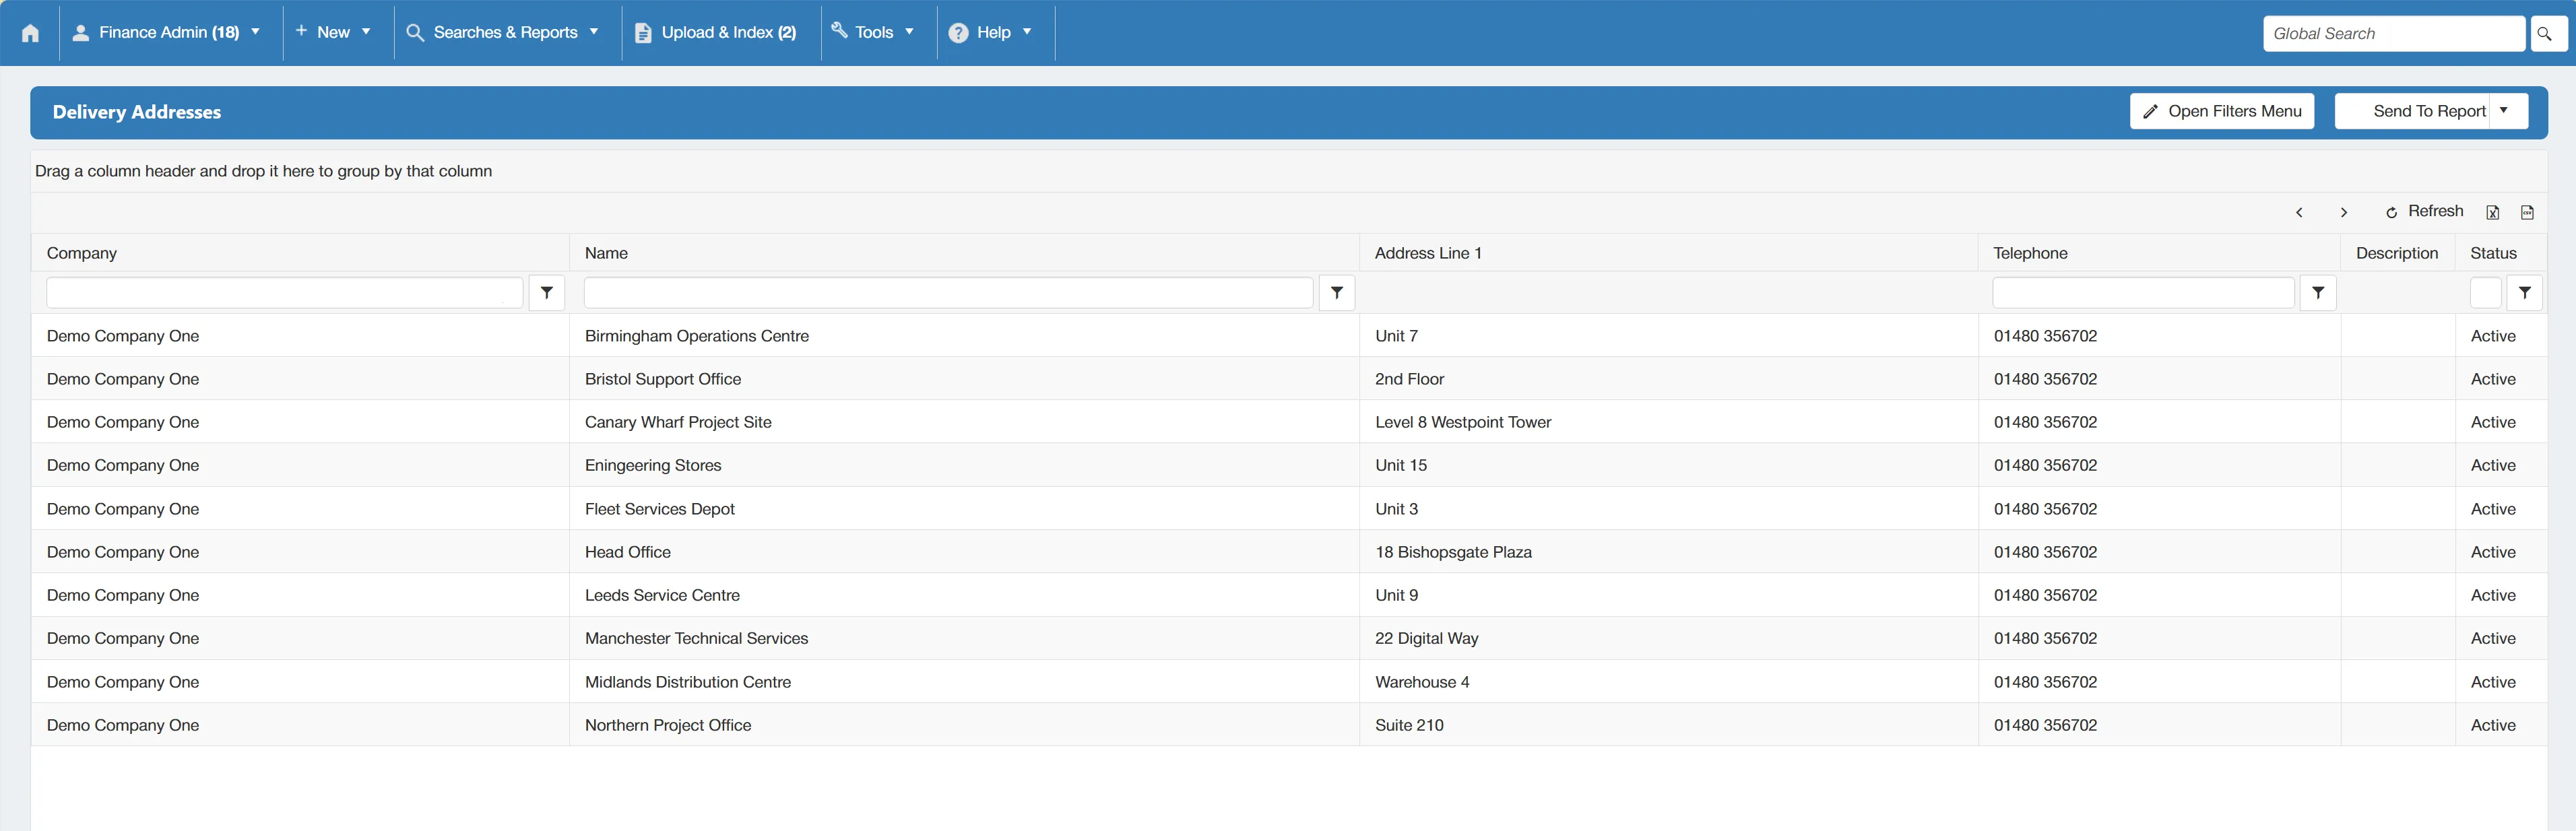
This will open a new window displaying the address' details. The window is currently in "Read Only" mode, you will therefore need to enable the "Edit Address" mode.
To do this, simply select from the drop-down list.
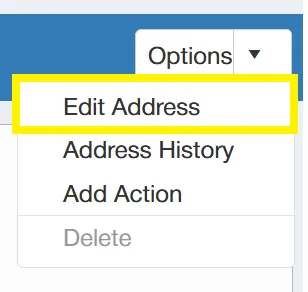
With "Edit Address" enabled, you are now able to change the address' details and settings.
Once you have finished making changes, simply click to apply them.
Marking a Delivery Address as Inactive
From the Edit Address Window, users have the ability to mark an address as inactive. This is useful in situations where addresses are no longer in use and you would like to prevent users from including them on purchase orders.
To mark an address as inactive, simply un-tick the ☐ Active box.
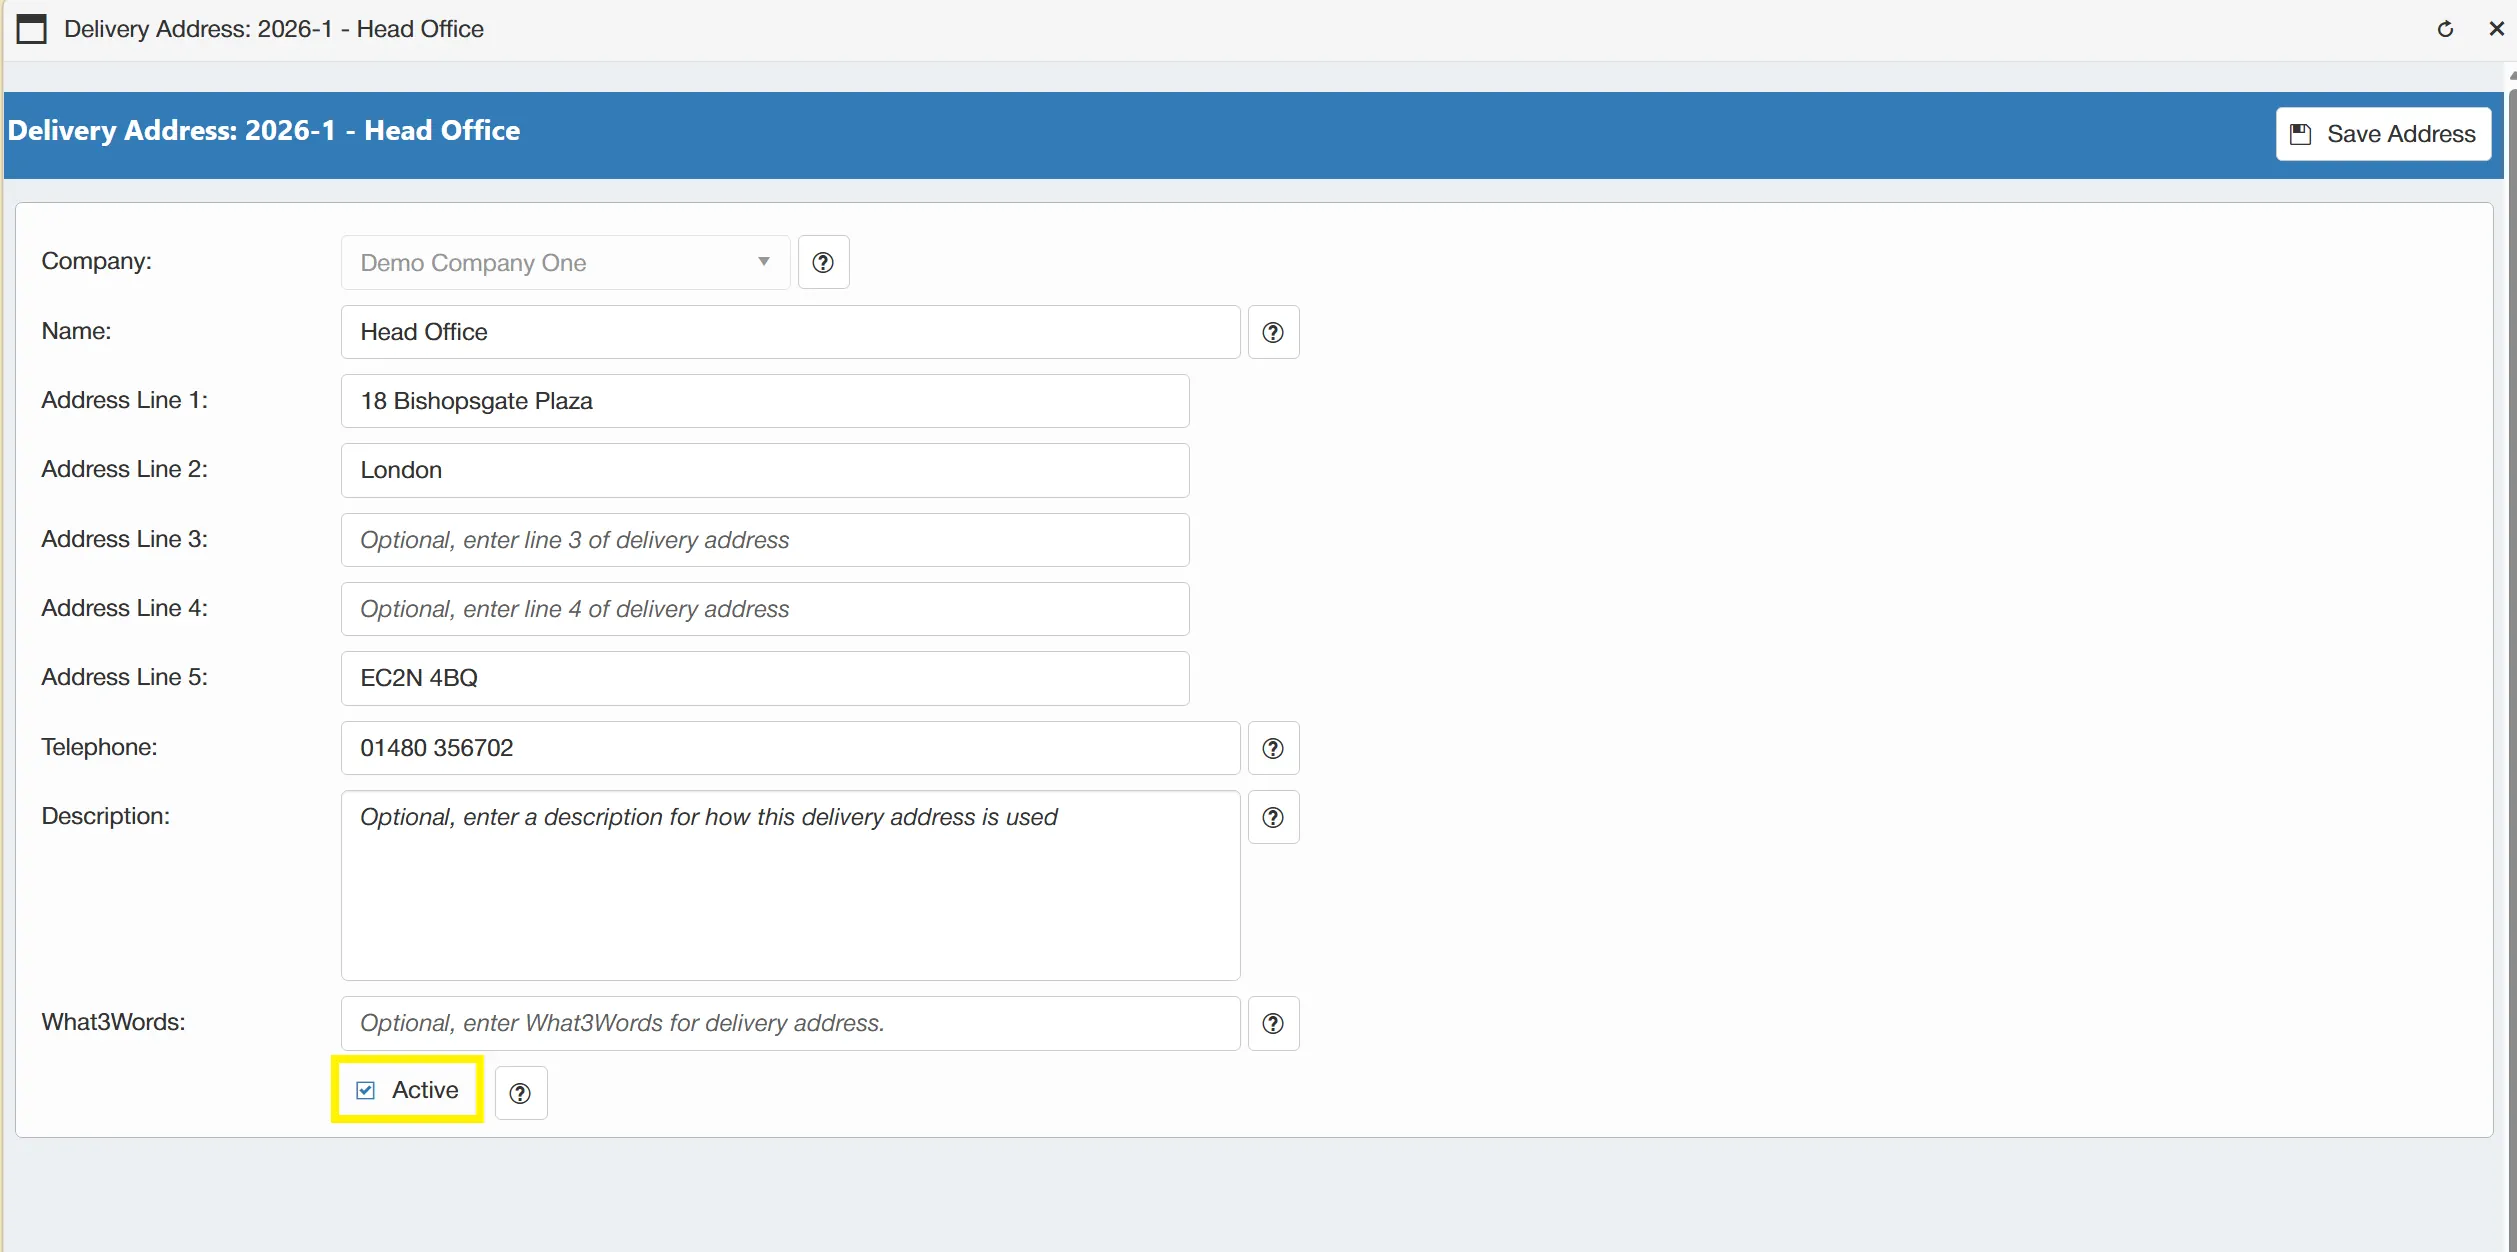
Once you have finished making changes, simply click to apply them.
Marking an address as inactive does not completely remove it from the system, it just prevents it from being used for future purchases. The address details and history are retained in the system for audit purposes.
Reactivating an inactive address is as simple as ensuring that the ☐ Active box is ticked.
Viewing Delivery Address History
The system logs any changes or actions against a delivery address for audit purposes. Users are able to view the history from the Delivery Address Window by finding and selecting the desired address. For more information on finding delivery addresses, click here.
To view an address' history, simply select from the drop down menu.
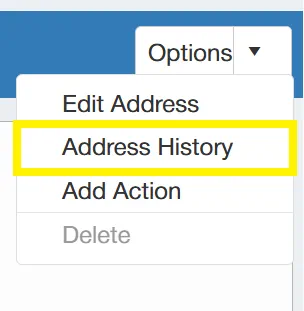
This opens a new window displaying a grid which contains a log of any actions against the address, such as; when the address was created, when it was edited and when it was viewed. It also logs the users against each relevant action.

The information in this grid can be exported in Excel or CSV format if required.
Adding Actions Against Delivery Addresses
From the Delivery Address Window, you can add an action against the address. To do this, simply click within the drop down menu.
Actions are reminders that you can set for yourself against various items within the system such as; Suppliers, Purchase Orders, Budgets, Invoices, Credit Notes and Projects. You can assign a date and time for the action to occur, at which point you will receive an email notification and task.
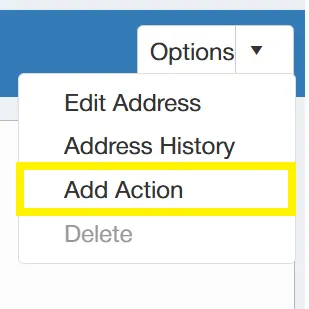
Clicking on this button will take you to a new window where you can specify the action's Title, Comment and Trigger date/time.
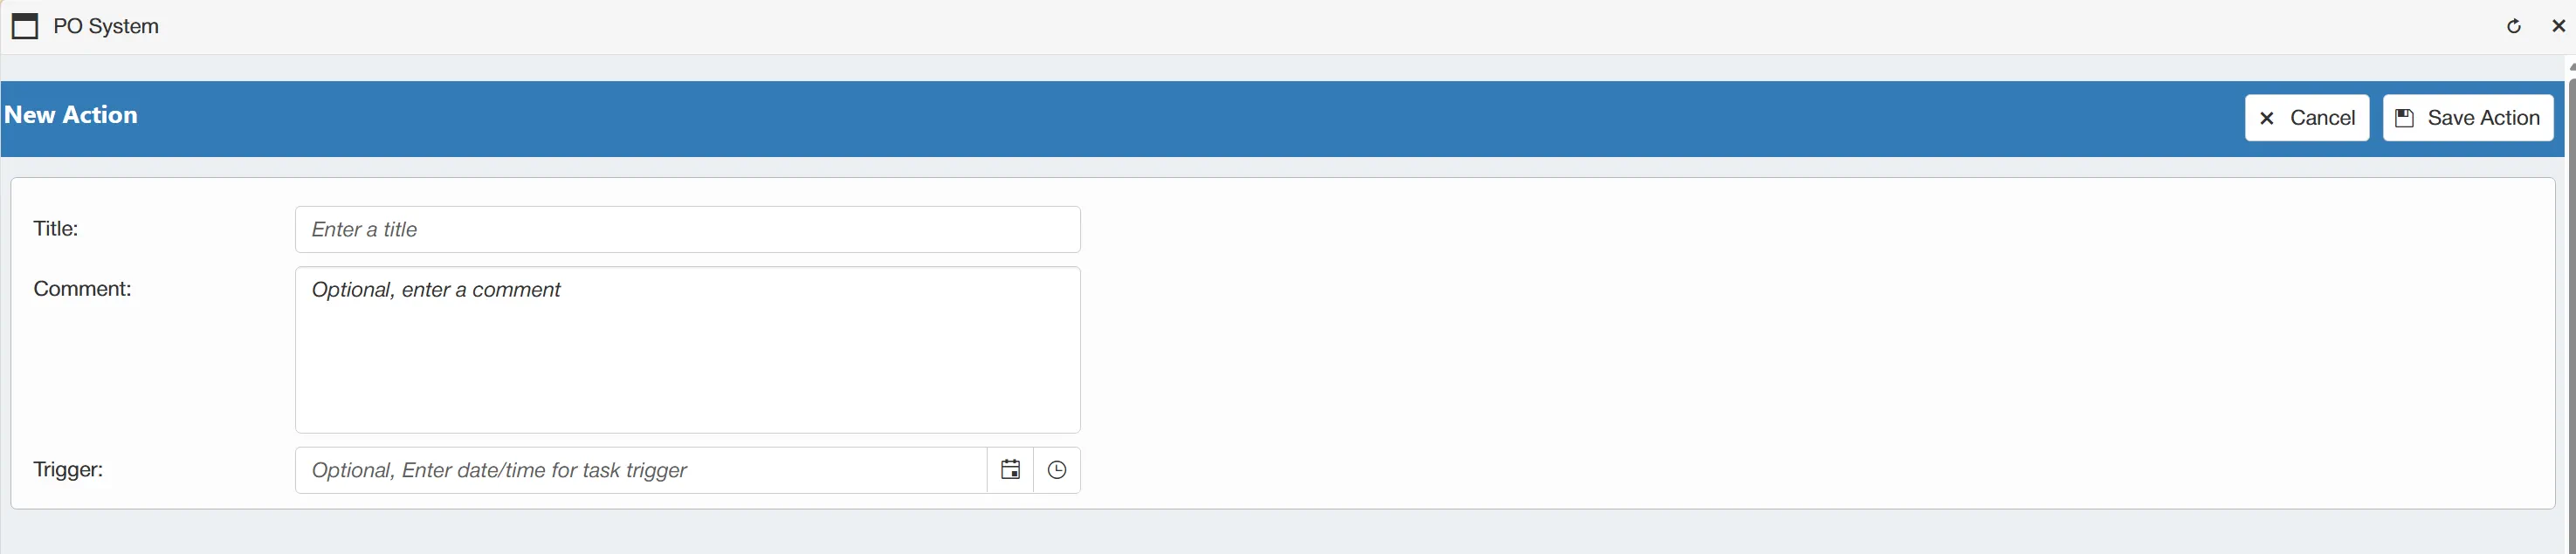
Once you are happy with the details, simply click to finalise this.
For information on viewing upcoming actions, click here
Deleting Delivery Addresses
If an address has not yet been used against a purchase order, then users with the Address Admin permission have the ability to delete it.
To delete a delivery address, you must first find and select the desired address from the Delivery Addresses grid.
For more information on searching for delivery addresses, click here
Once the address has been selected, simply click within the drop down menu.
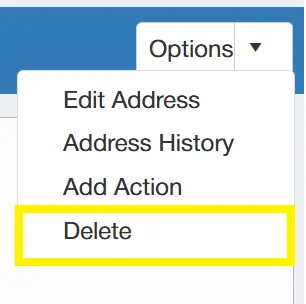
A warning message will appear, prompting you to confirm that you would like to permanently delete the address. Click OK to proceed.
A new message will appear confirming that the record has been deleted successfully.

New Invoice Address
To create a new invoice address, select from the New Menu.
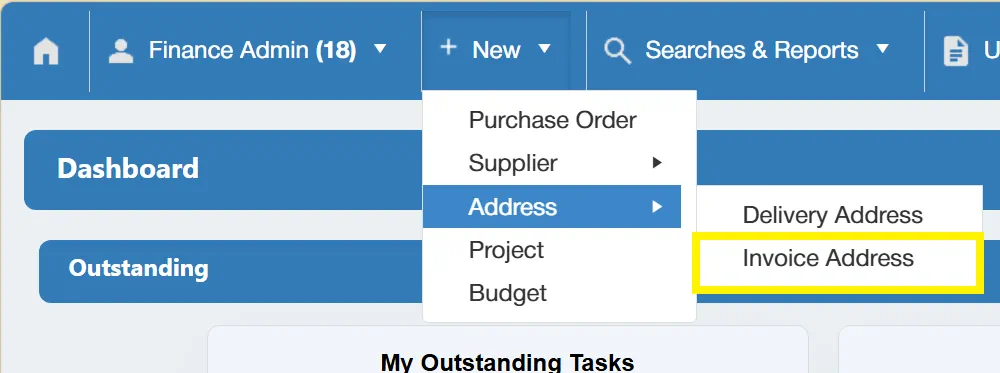
This will open a new window with various fields allowing you to fill in the relevant invoice address details.
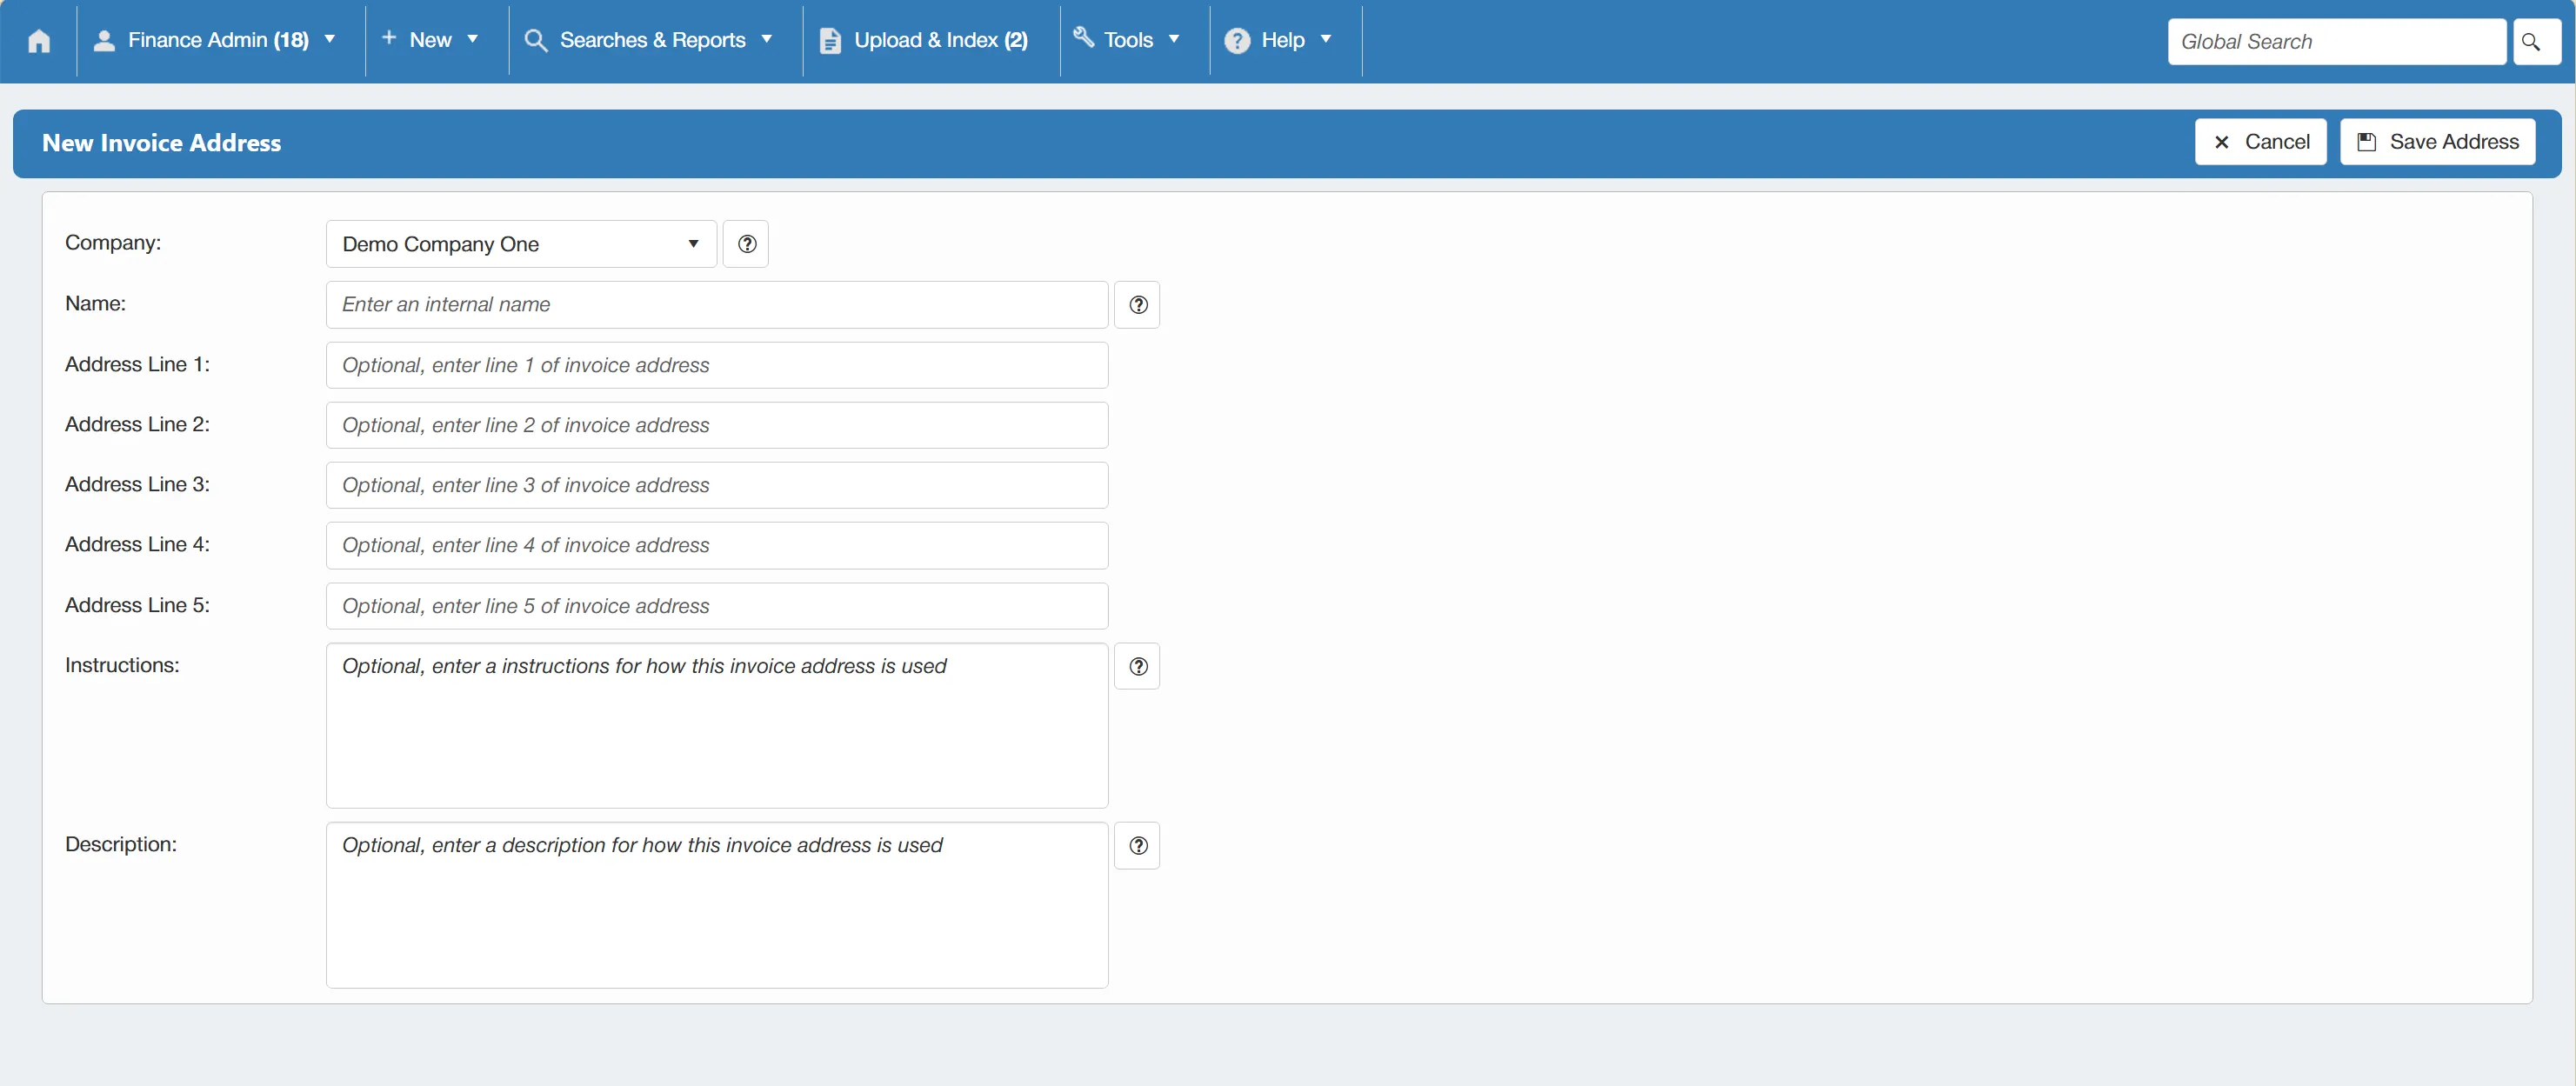
Once you are happy with the details, click to commit the address to the system.
Only users with the Address Admin permission enabled can create invoice addresses. For more information on permissions, click here.
Existing Invoice Address
Users with the Address Admin permission have the ability to edit existing invoice addresses.
For more information on user permissions, click here.
To edit an existing invoice address, you must first find and select it from the Invoice Addresses Grid.
For more information on searching for invoice addresses, click here
Once you have found the invoice address you wish to edit, open it by clicking on the relevant line in the search grid.
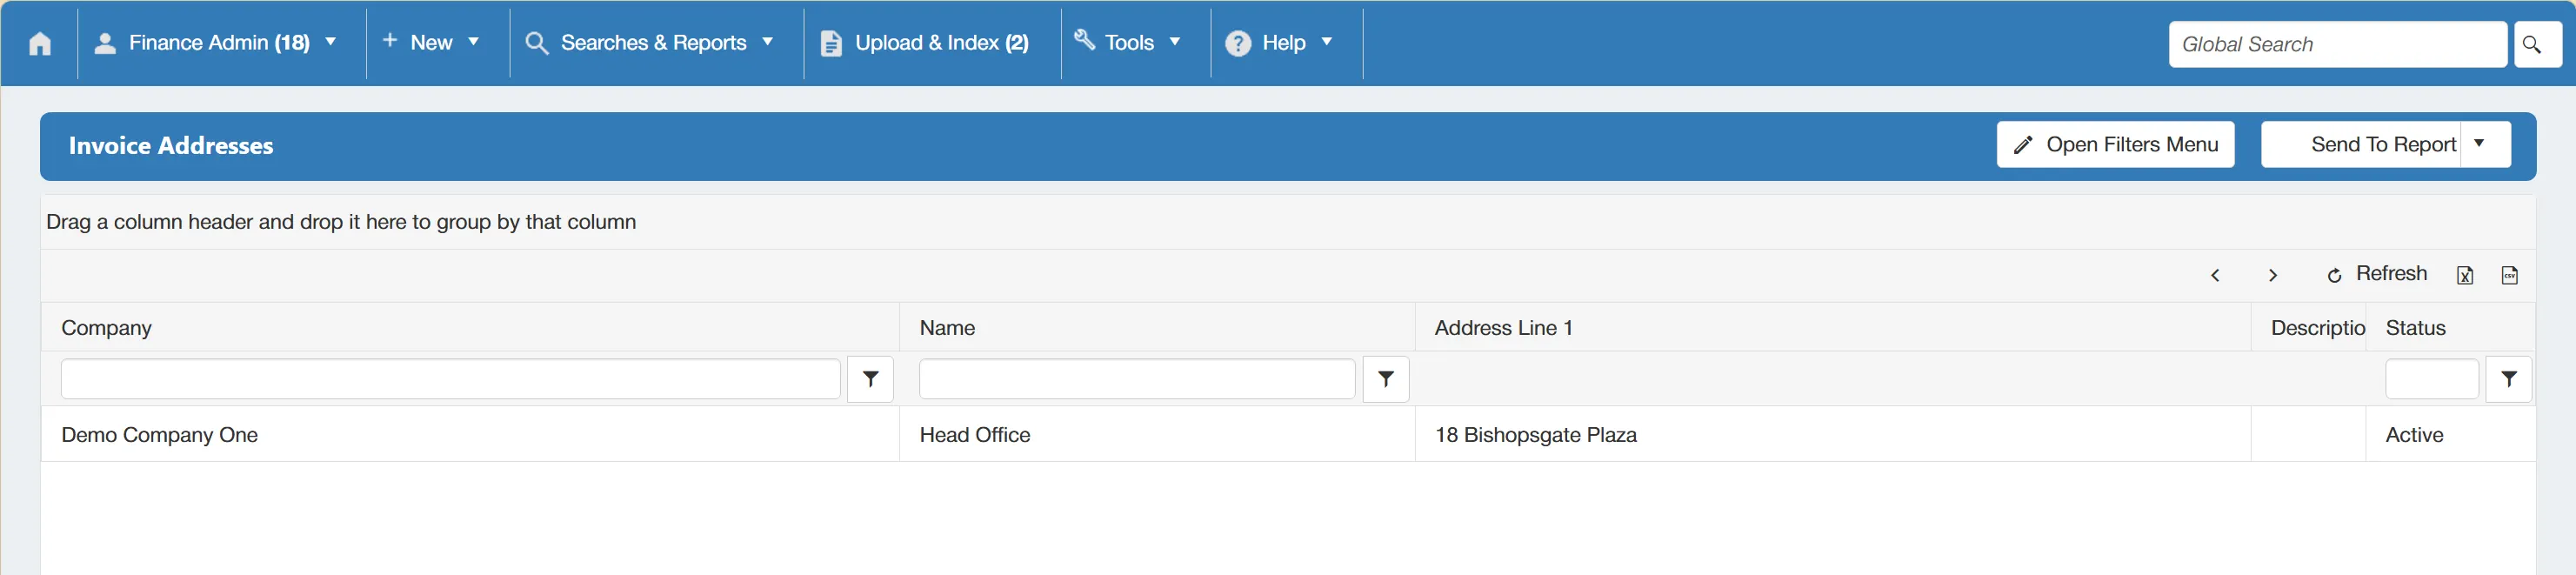
This will open a new window displaying the address' details. The window is currently in "Read Only" mode, you will therefore need to enable the "Edit Address" mode.
To do this, simply select from the drop-down list.
With "Edit Address" enabled, you are now able to change the address' details and settings.
Once you have finished making changes, simply click to apply them.
Marking an Invoice Address as Inactive
From the Edit Address Window, users have the ability to mark an address as inactive. This is useful in situations where addresses are no longer in use and you would like to prevent users from including them on purchase orders.
To mark an address as inactive, simply un-tick the ☐ Active box.
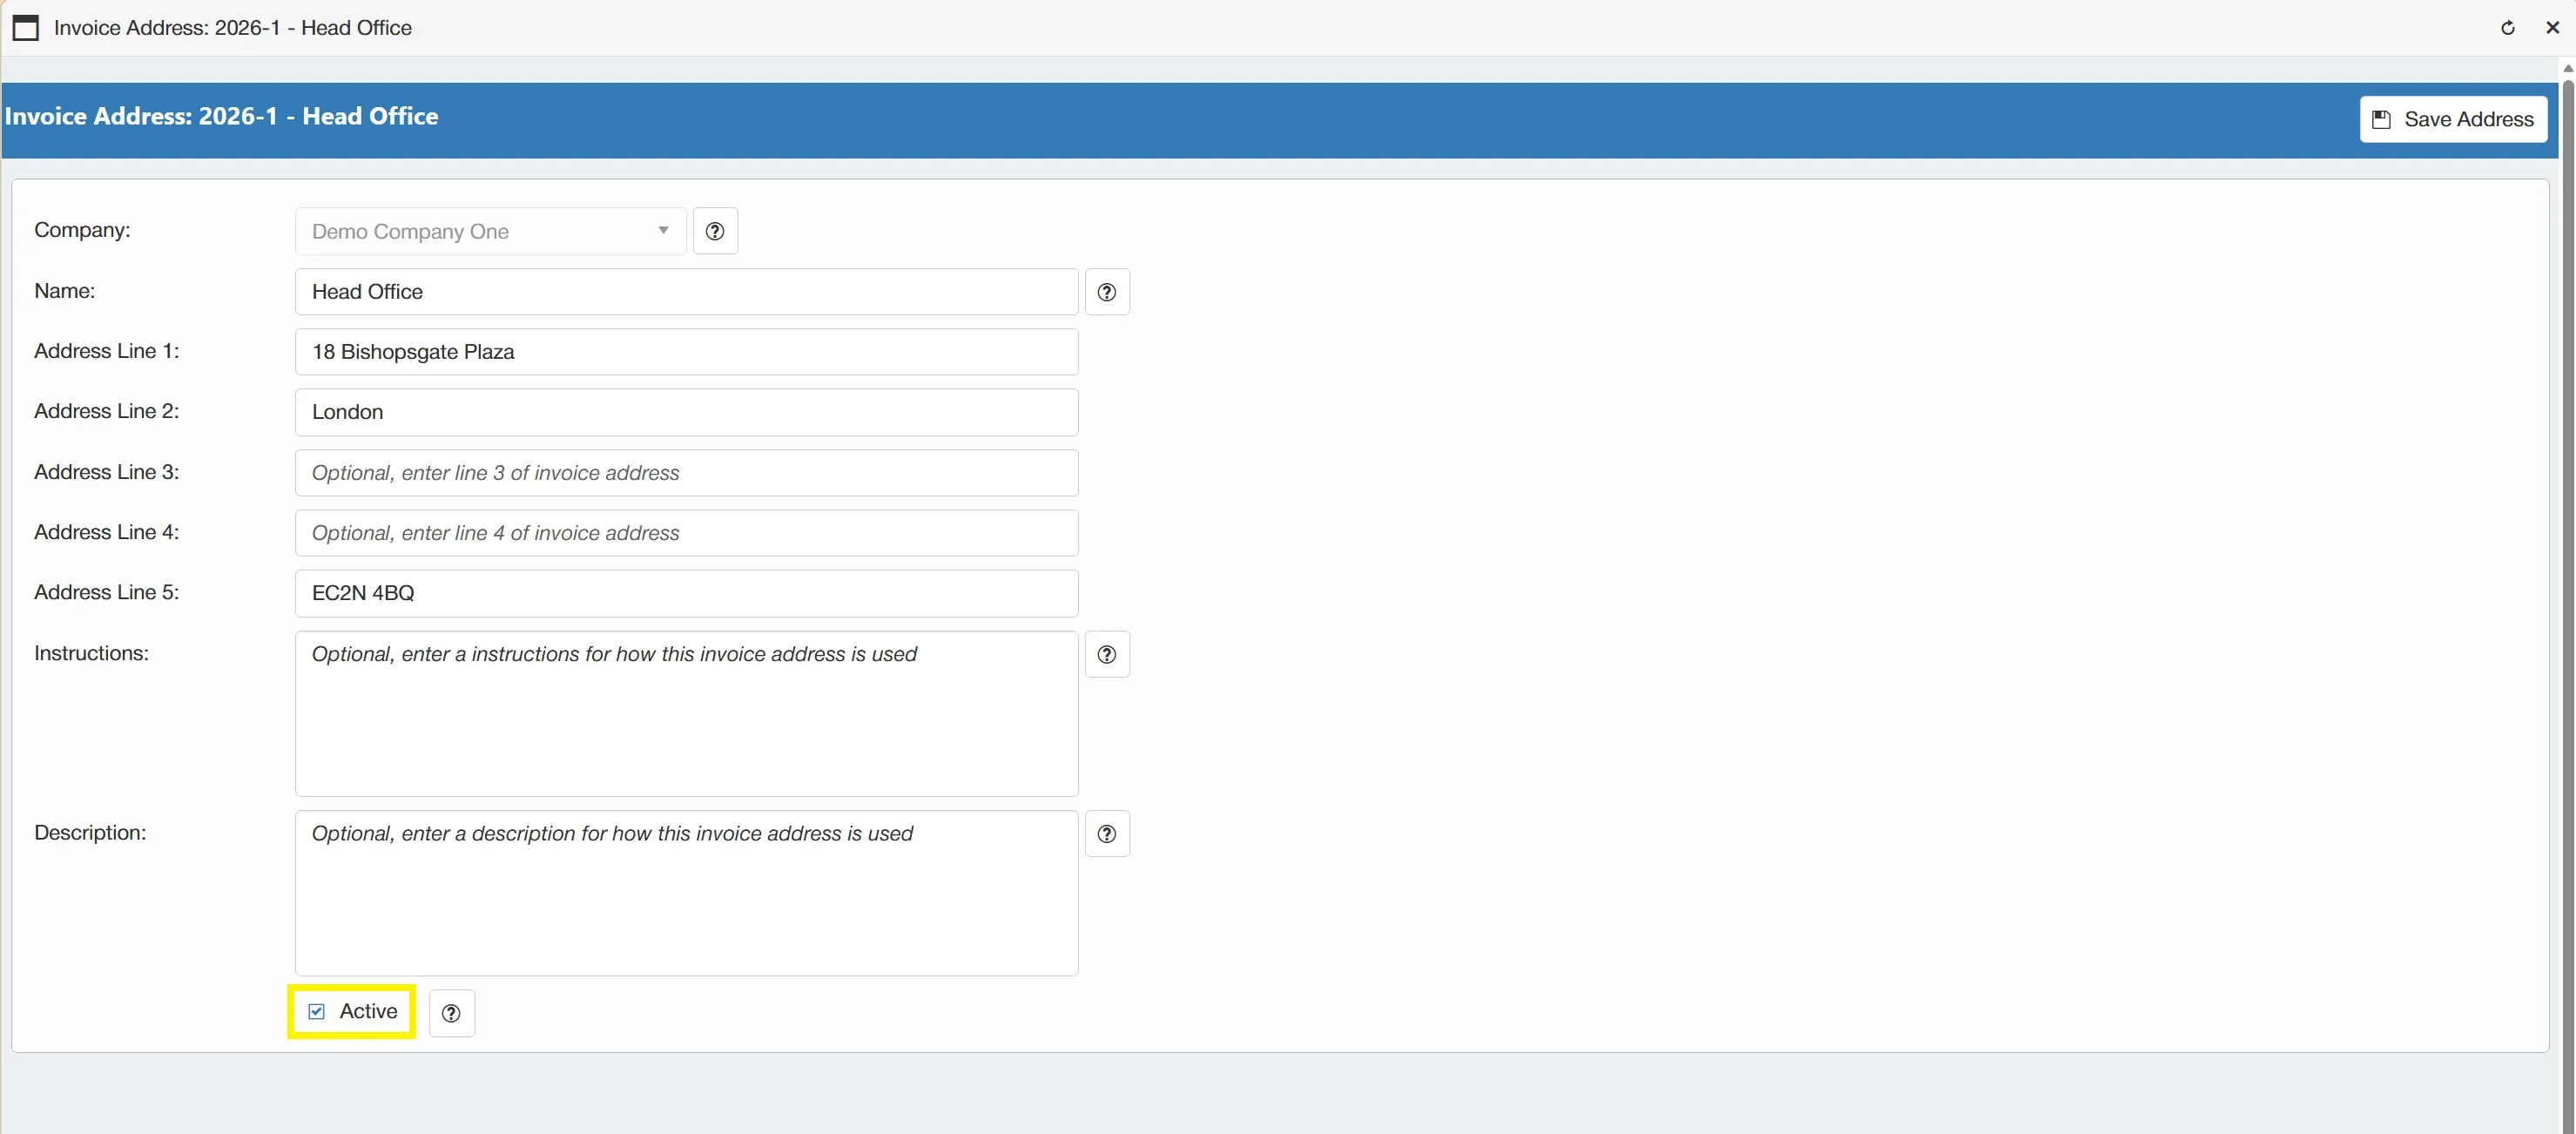
Once you have finished making changes, simply click to apply them.
Marking an address as inactive does not completely remove it from the system, it just prevents it from being used for future purchases. The address details and history are retained in the system for audit purposes.
Reactivating an inactive address is as simple as ensuring that the ☐ Active box is ticked.
Viewing Invoice Address History
The system logs any changes or actions against an invoice address for audit purposes. Users are able to view the history from the Delivery Address Window by finding and selecting the desired address. For more information on finding invoice addresses, click here.
To view an address' history, simply select from the drop down menu.
This opens a new window displaying a grid which contains a log of any actions against the address, such as; when the address was created, when it was edited and when it was viewed. It also logs the users against each relevant action.
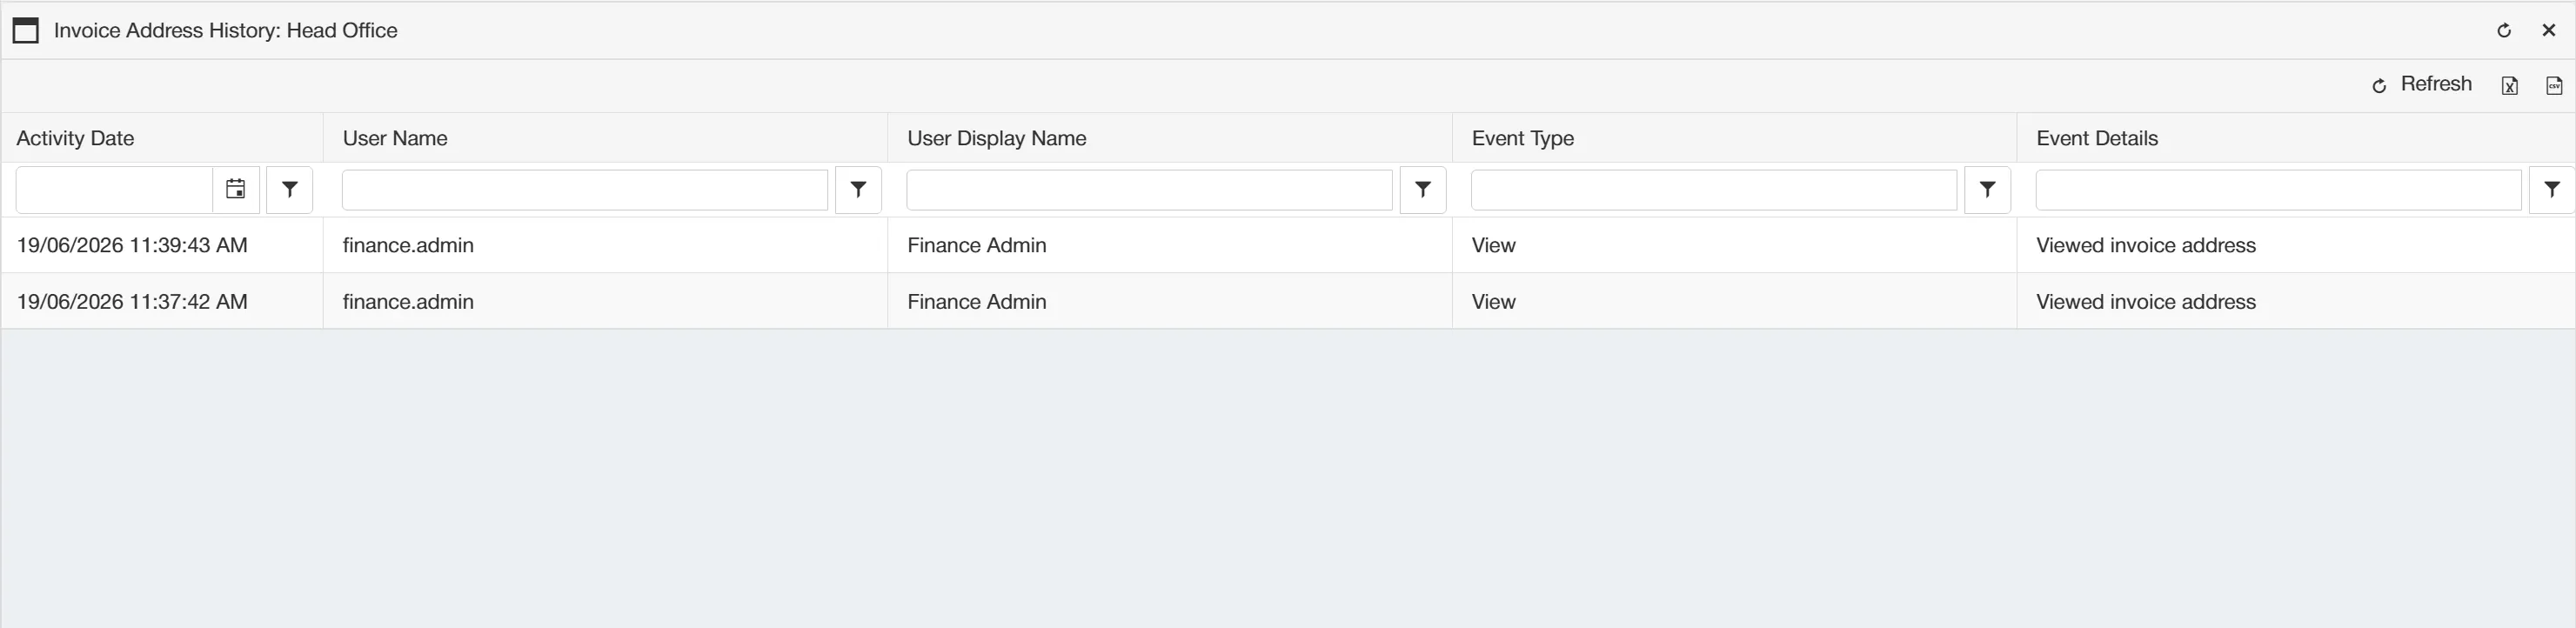
The information in this grid can be exported in Excel or CSV format if required.
Adding Actions Against Invoice Addresses
From the Invoice Address Window, you can add an action against the address. To do this, simply click within the drop down menu.
Actions are reminders that you can set for yourself against various items within the system such as; Suppliers, Purchase Orders, Budgets, Invoices, Credit Notes and Projects. You can assign a date and time for the action to occur, at which point you will receive an email notification and task.
Clicking on this button will take you to a new window where you can specify the action's Title, Comment and Trigger date/time.
Once you are happy with the details, simply click to finalise this.
For information on viewing upcoming actions, click here
Deleting Invoice Addresses
If an address has not yet been used against a purchase order, then users with the Address Admin permission have the ability to delete it.
To delete an invoice address, you must first find and select the desired address from the Invoice Addresses grid.
For more information on searching for delivery addresses, click here
Once the address has been selected, simply click within the drop down menu.
A warning message will appear, prompting you to confirm that you would like to permanently delete the address. Click OK to proceed.
A new message will appear confirming that the record has been deleted successfully.