Budget Control | Purchase Order System
The purchase order software includes the facility for budgets to be set up and tracked. This allows you to closely monitor your expenditure.
Click below to watch a video guide on Budgets within the purchase order system:
New Budget
Select the to begin creating Budgets within the system.
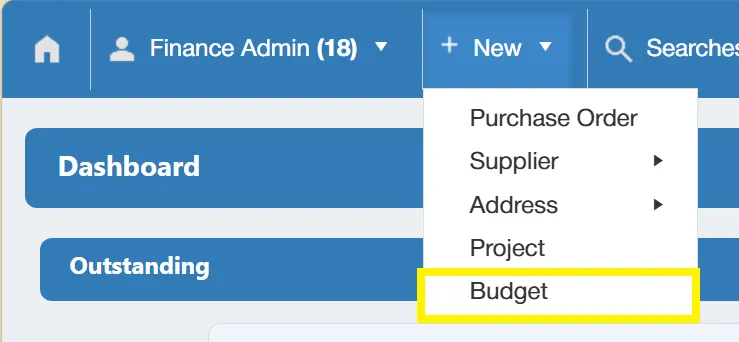
Creating a Budget
Selecting from the New Menu, will take you to the New Budget window.
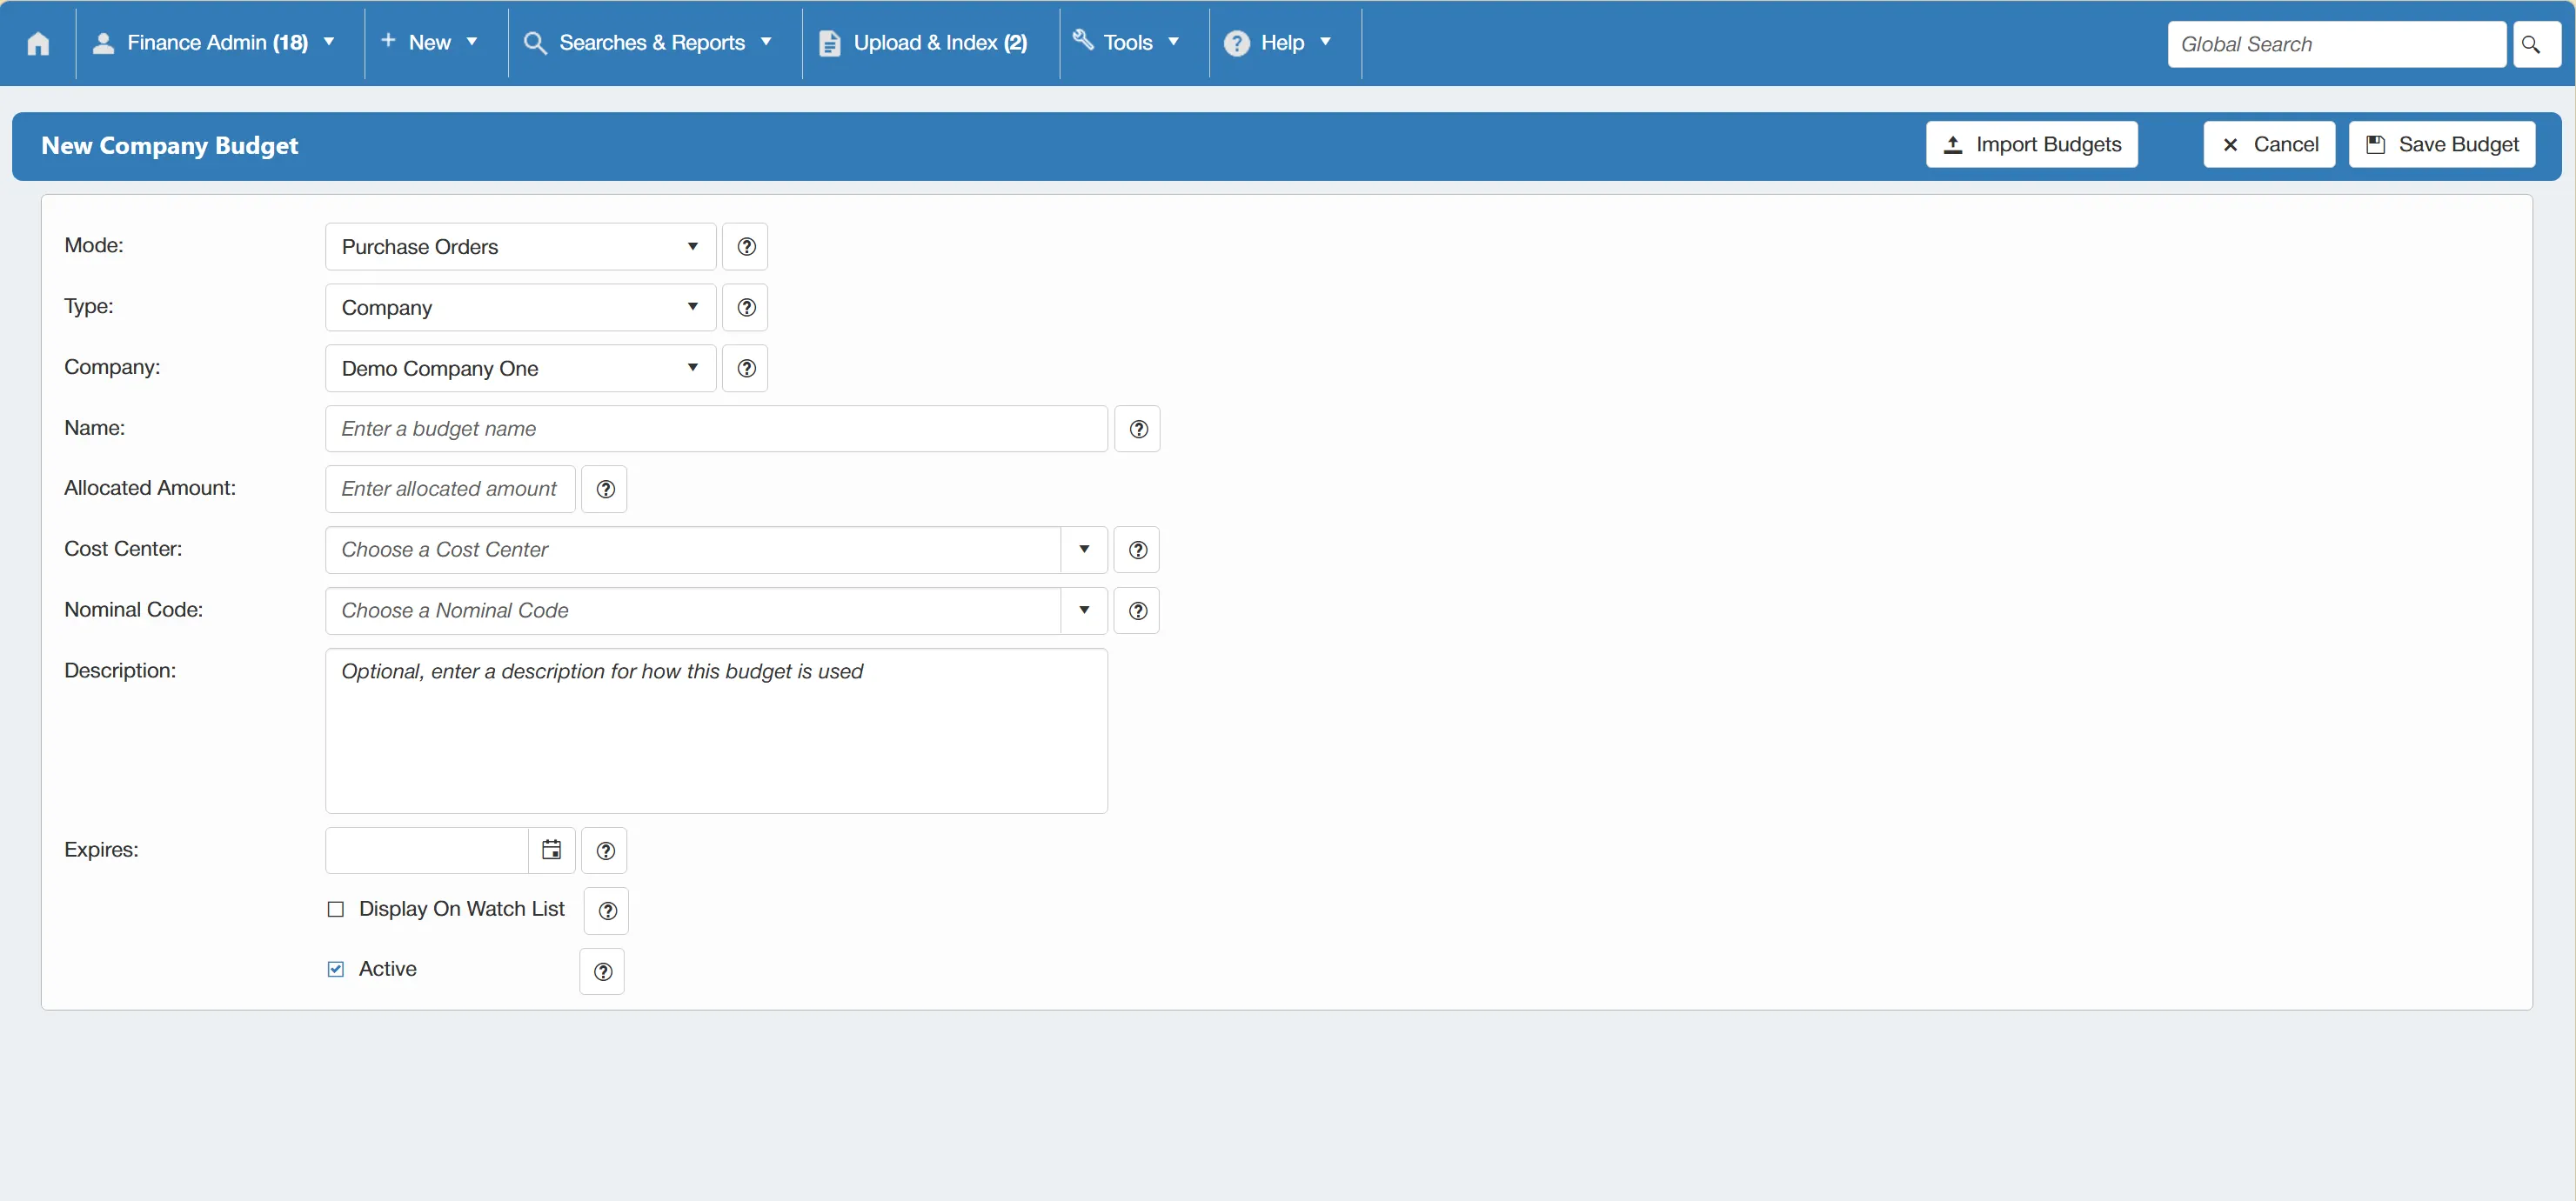
In this example, we are going to create a Company level budget. The process for creating Department and Project level budgets is similar, with the only difference being that you will need to specify which Department or Project you are creating the budget against.
In the New Budget window, you will be required to fill in relevant information within a selection of fields. The fields are as follows:
- Type: This is where you will specify the type of Budget being created (Company, Department or Project level).
- Company: This allows you to select the company that you would like to assign the budget to.
- Name: This is the name of your new budget.
- Allocated Amount: This is the total allocated amount for the budget.
- Cost Center: Allows you to specify the desired cost center for your new budget.
- Nominal Code: Allows you to specify the desired nominal code for your budget.
- Description: This is an optional field in which you can add an internal description for the budget.
- Expires: This allows you to select an expiry date for the new budget, for example, if it is a quarterly budget, you could set the date to expire at the end of the quarter. Once the budget expires, it is automatically marked as inactive, preventing users from raising further purchase orders against it.
- ☐ Display On Watch List: Ticking this box allows you to display the budget on the Budget Watch List. This can be found on the dashboard and provides a snapshot of your most important budgets when you log into the system.
- ☐ Active: Ticking this box marks the budget as Active meaning that users are able to raise purchase orders against it. This box is ticked by default when creating a budget, however it can be un-ticked when viewing an existing budget if you wish to mark it as inactive.
Once you are happy with the details, simply click to commit this to the system.
Only users with the Budget Admin permission enabled, can create new budgets and amend existing ones. For more information on permissions, click here.
Import Budgets
Whilst you can manually create budgets as above, the system also has an Import Budgets facility allowing you to set up multiple budgets at once. This is particularly helpful if you need to efficiently set up multiple budgets (perhaps you have a new set of budgets to be set up at the beginning of the year).
To import budgets, simply click on the button within the New Budgets window.
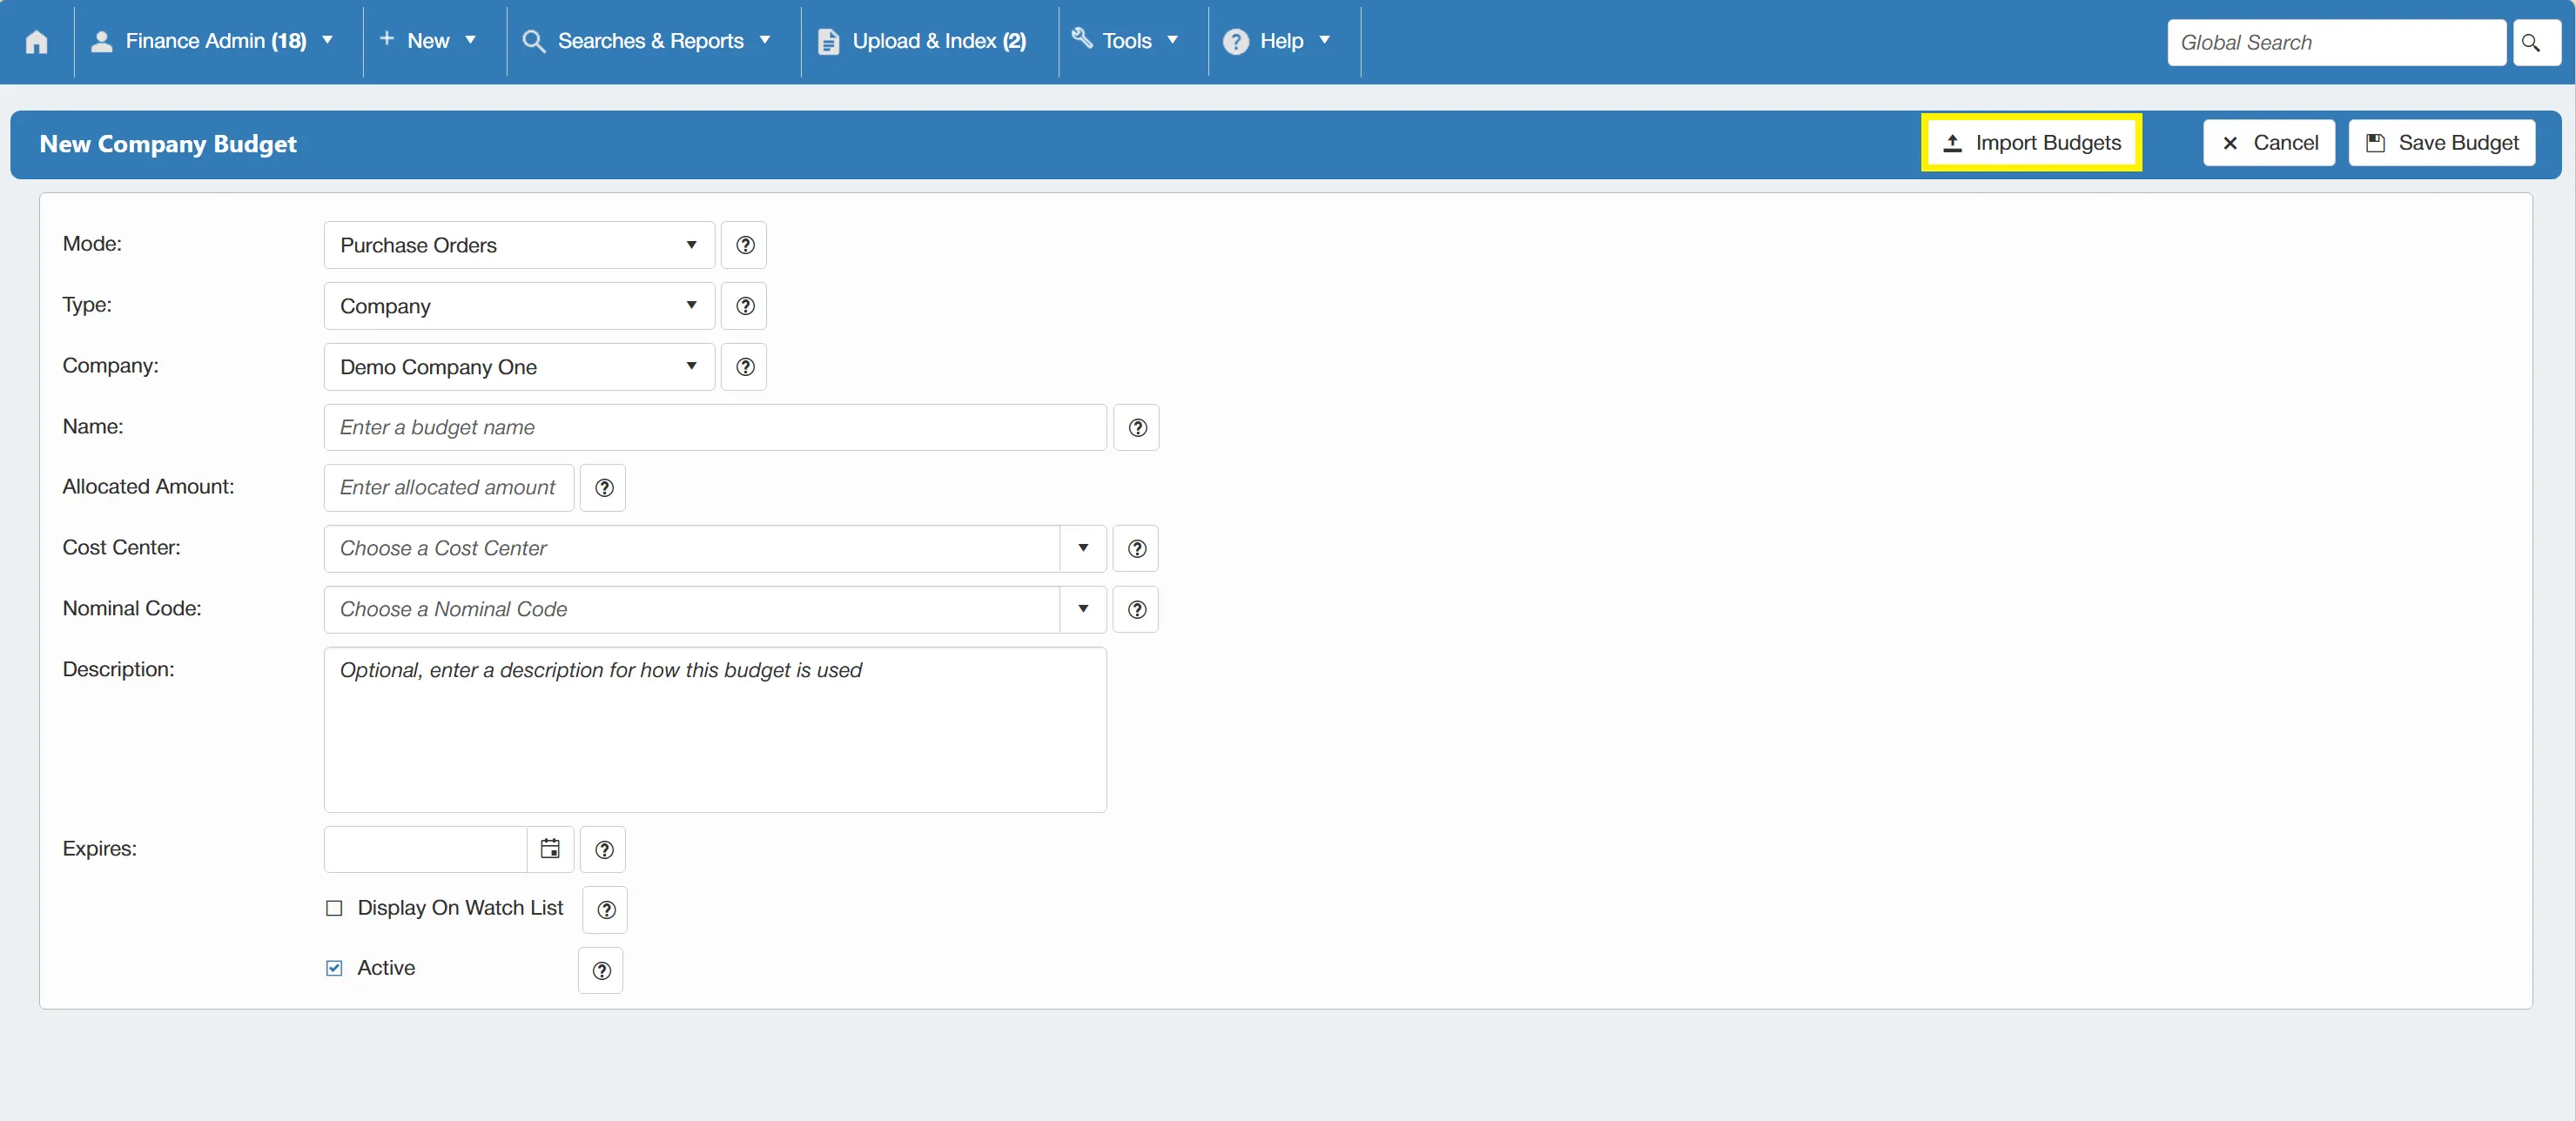
This can be done on Company, Department or Project Level - for the purposes of this example, we are continuing on the Company level.
Clicking on opens a new window.
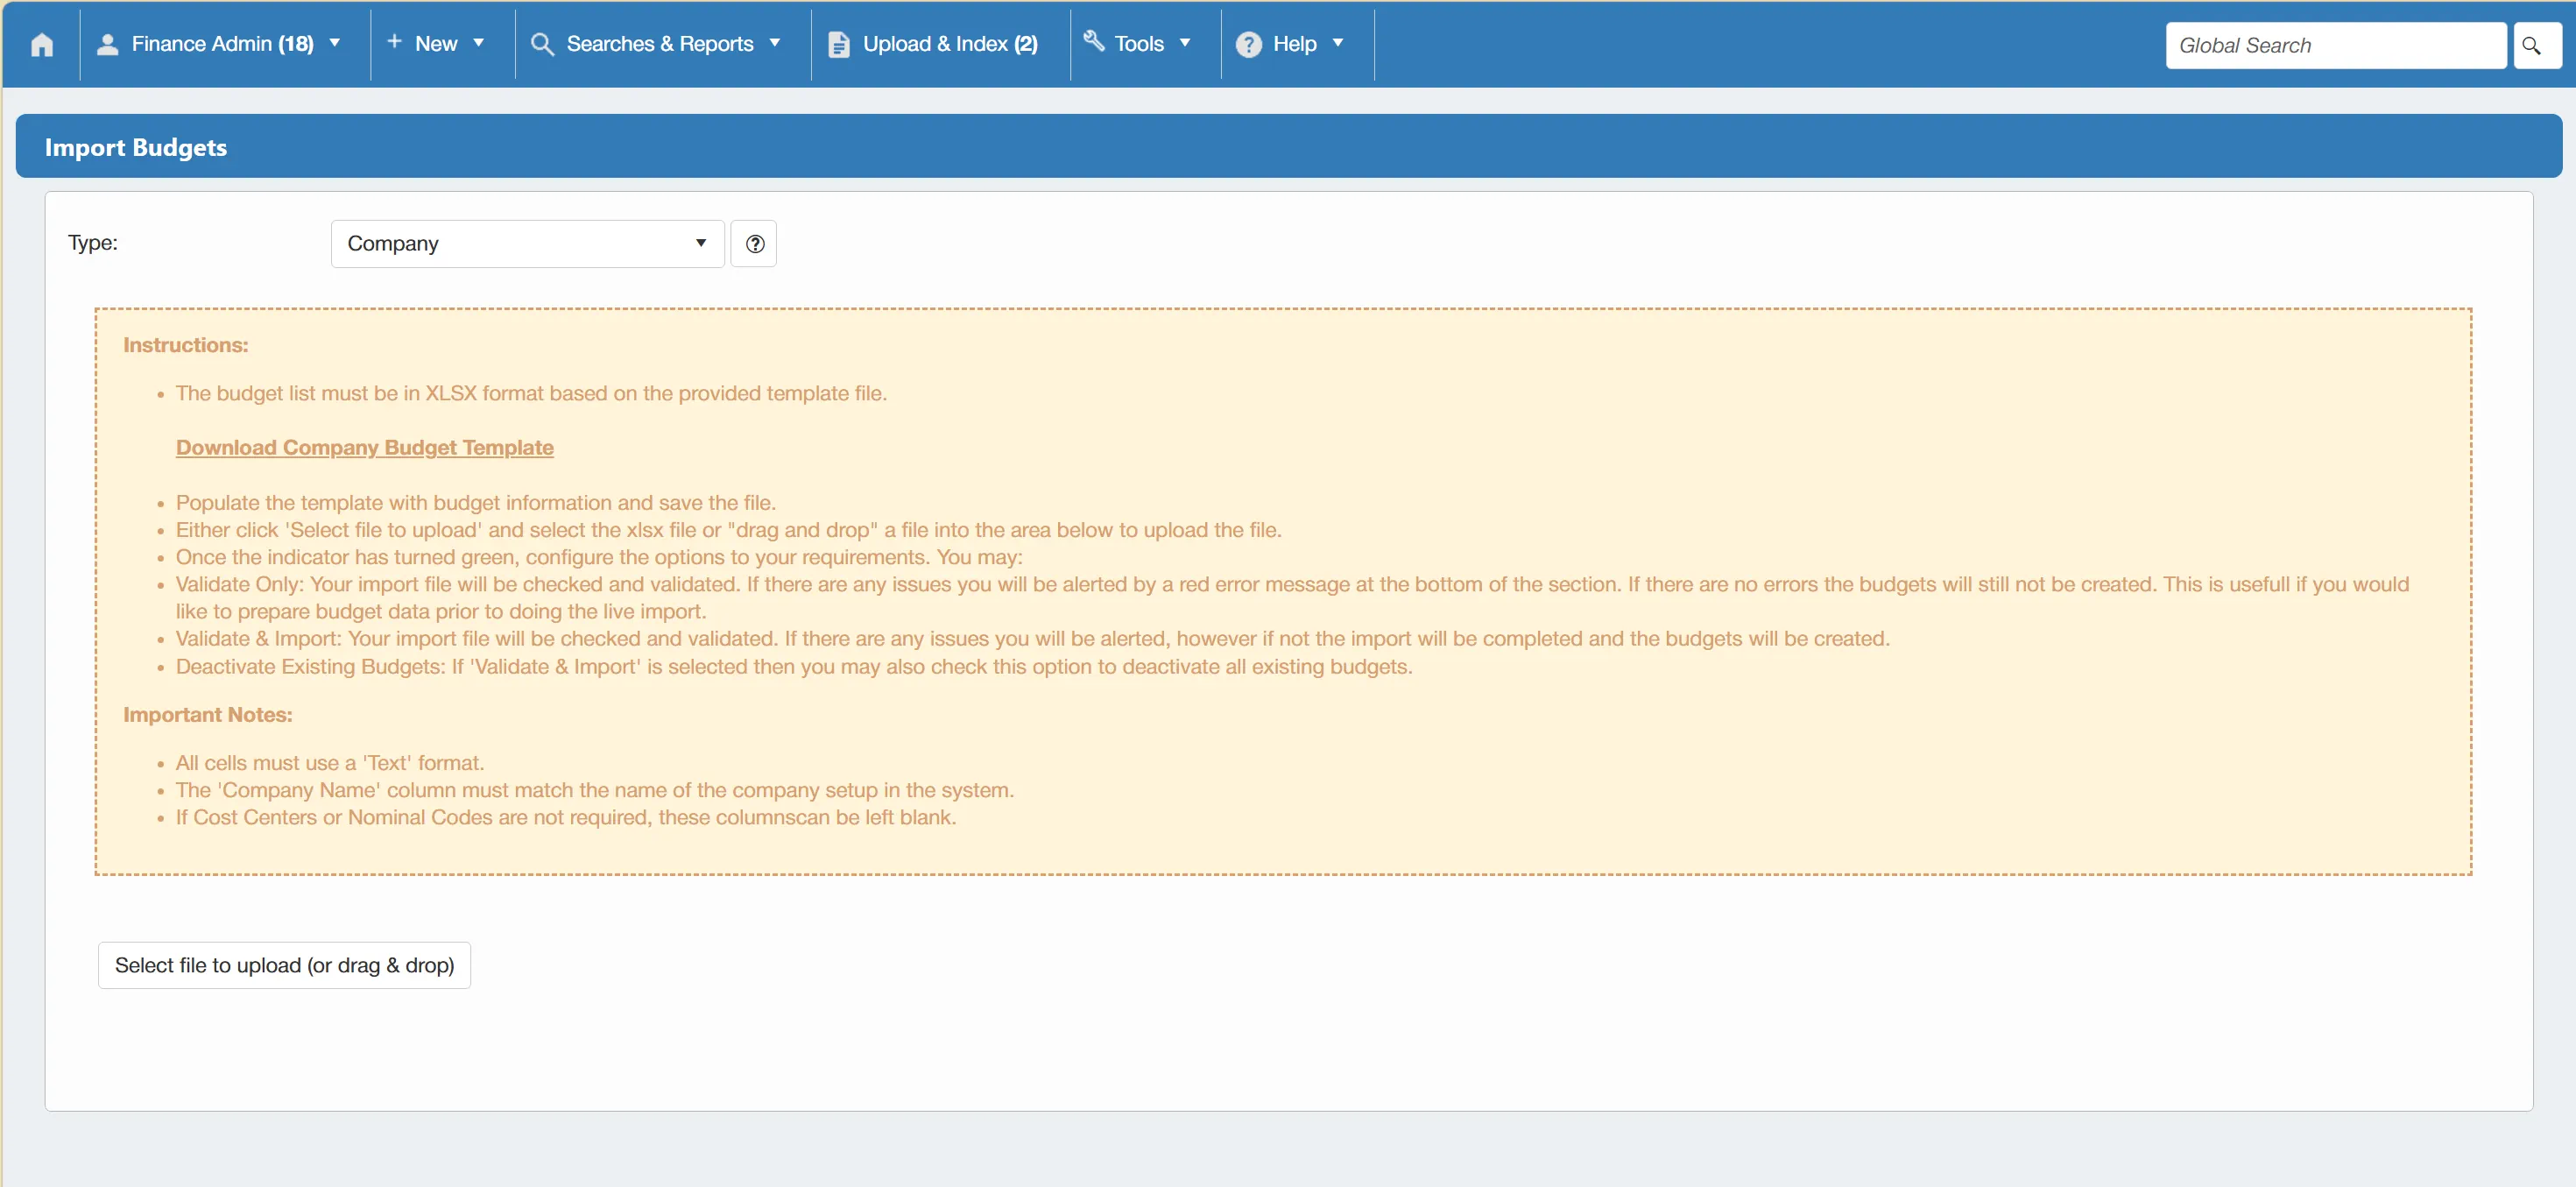
This window includes a guide on importing budgets and a link to the relevant budget template. Following this guide, you can download the template and populate it with your desired budgetary information.
To select the type of budget you are importing (Company, Department or Project), simply choose the relevant level from the drop down menu.
When you have completed the file, simply upload it to the system by dragging and dropping it or clicking on the Select file to upload button.
Once the file has been uploaded, the some new fields will appear.
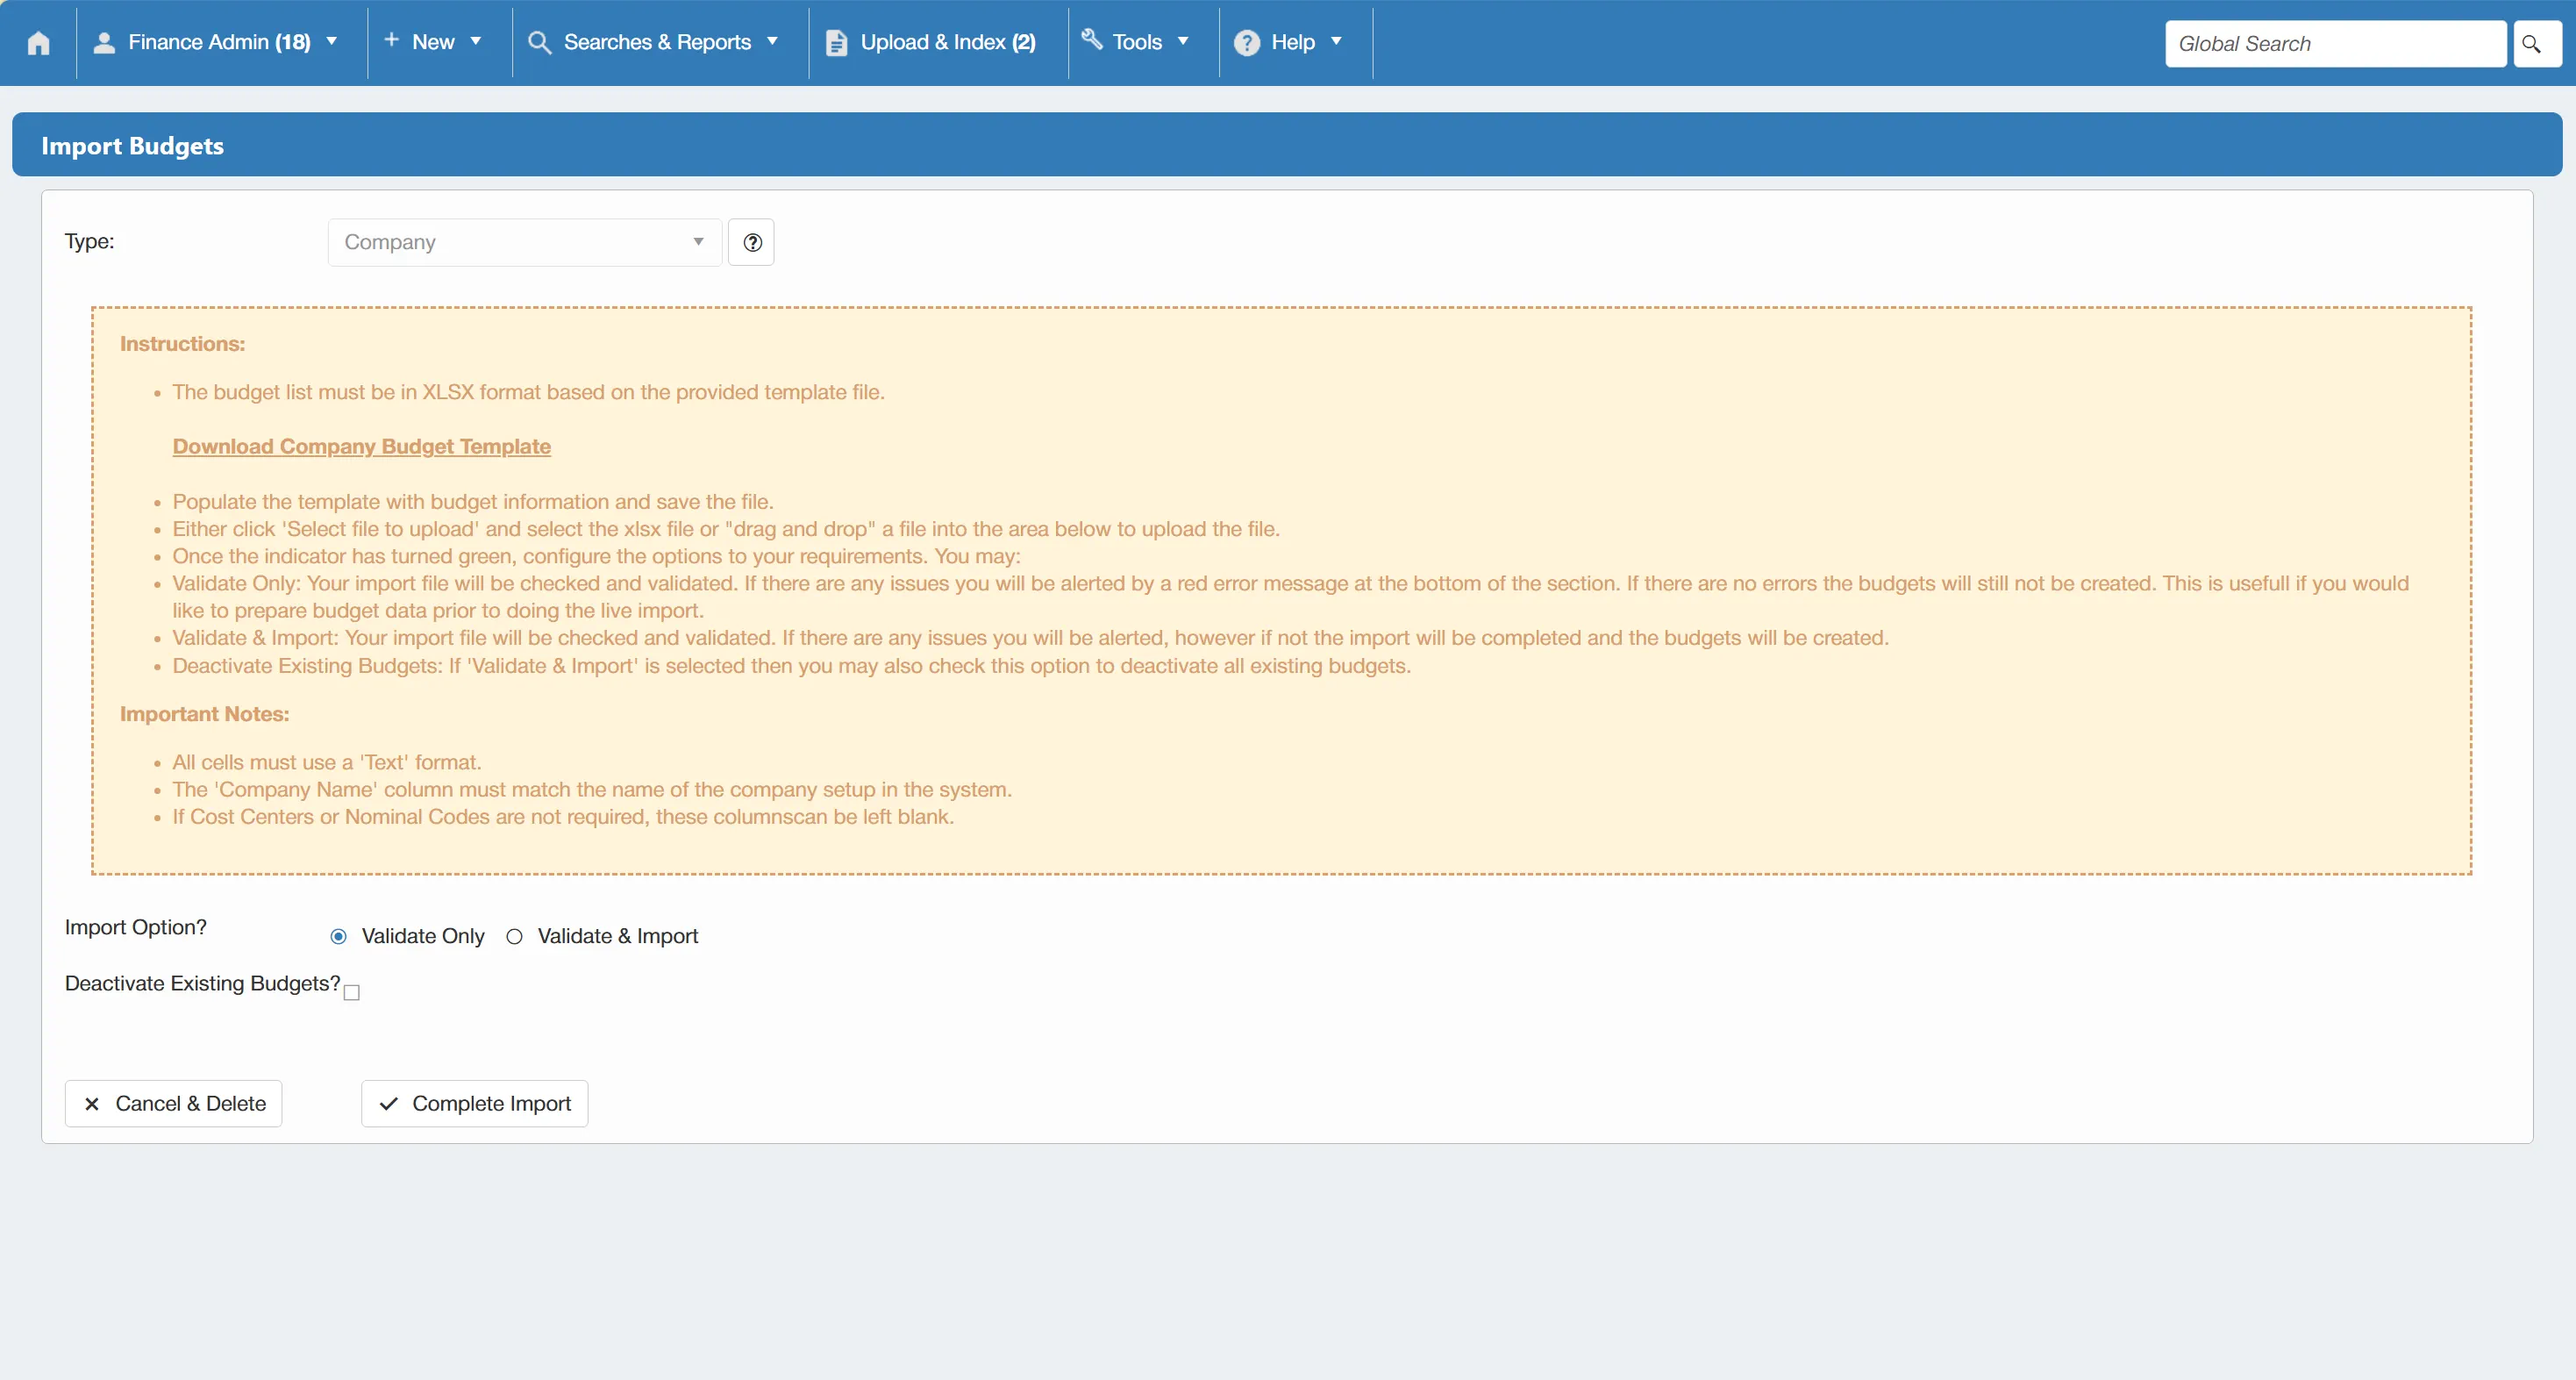
- The Import Option? field allows you to determine whether you would like the system to validate the budgets on the file without actually importing them or validate and import the file.
- The Deactivate Existing Budgets? ☐ field allows you to deactivate all existing budgets when the new budgets are imported.
Once you are happy with your options, click to finalise the import.
Only users with the Budget Admin permission enabled, can import new budgets. For more information on permissions, click here.
Editing Existing Budgets
To edit an existing budget, you must first locate it. For information on searching for budgets, click here
Once you have found the relevant budget, click on it to open the budget window.
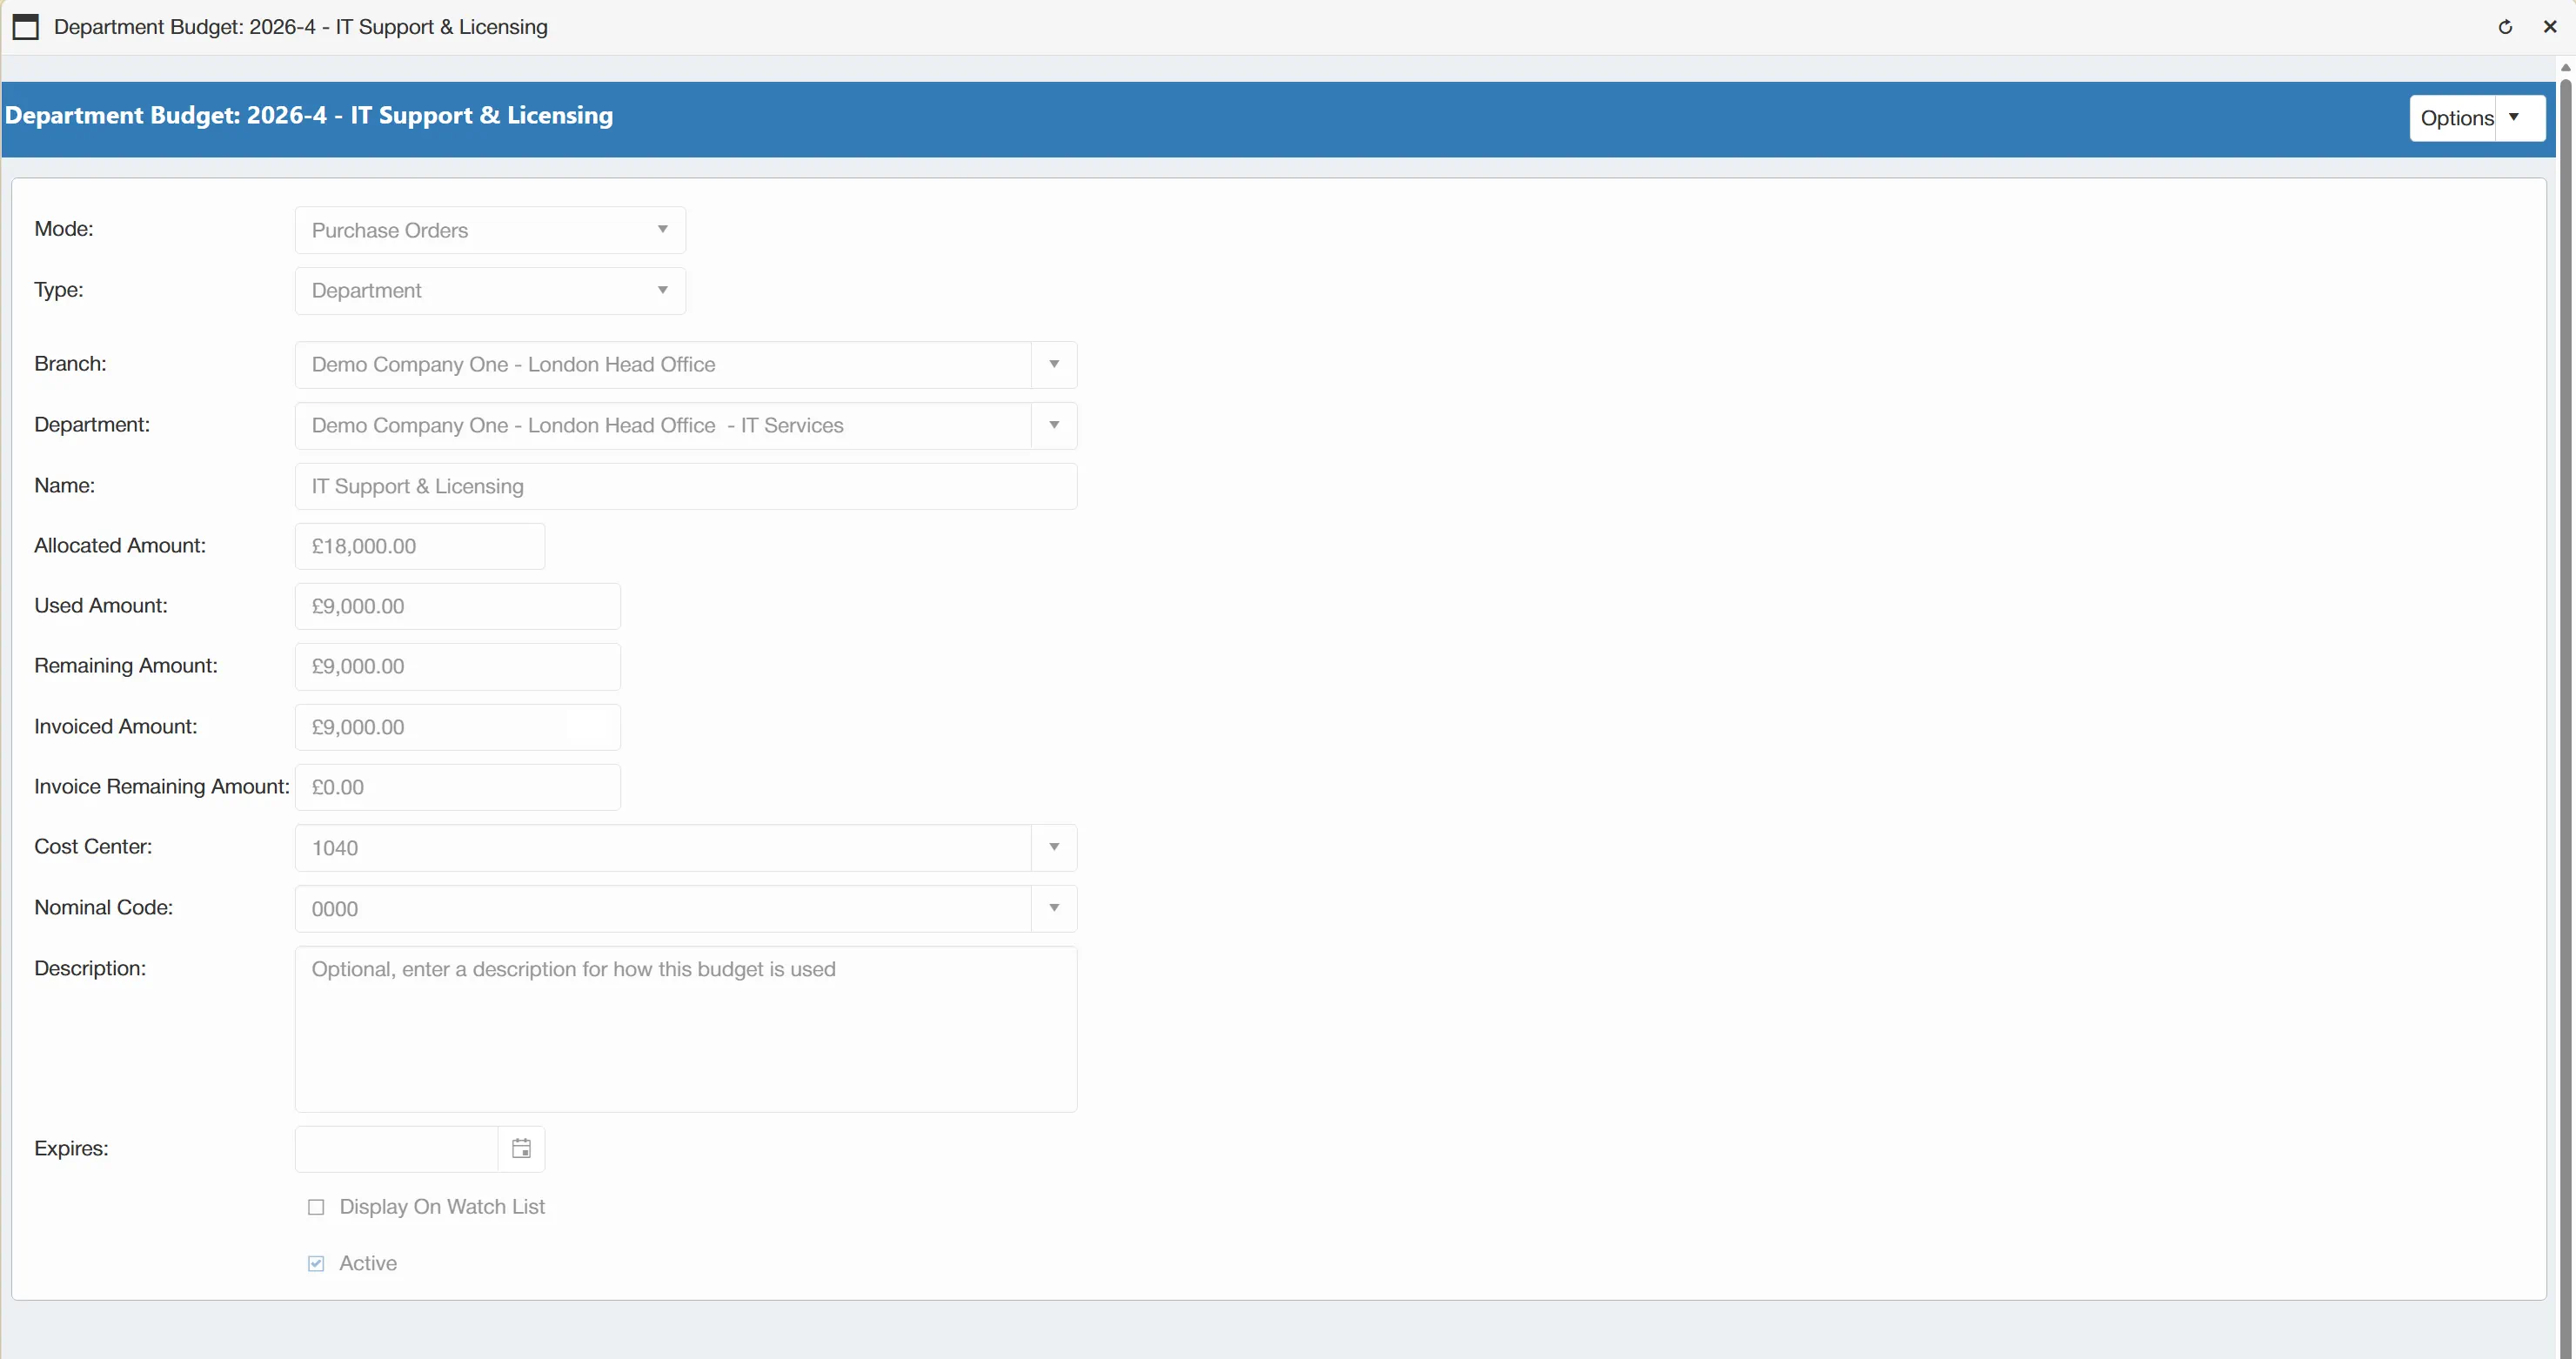
The fields are currently "read only", meaning that you can't change them. However, if you click and select .
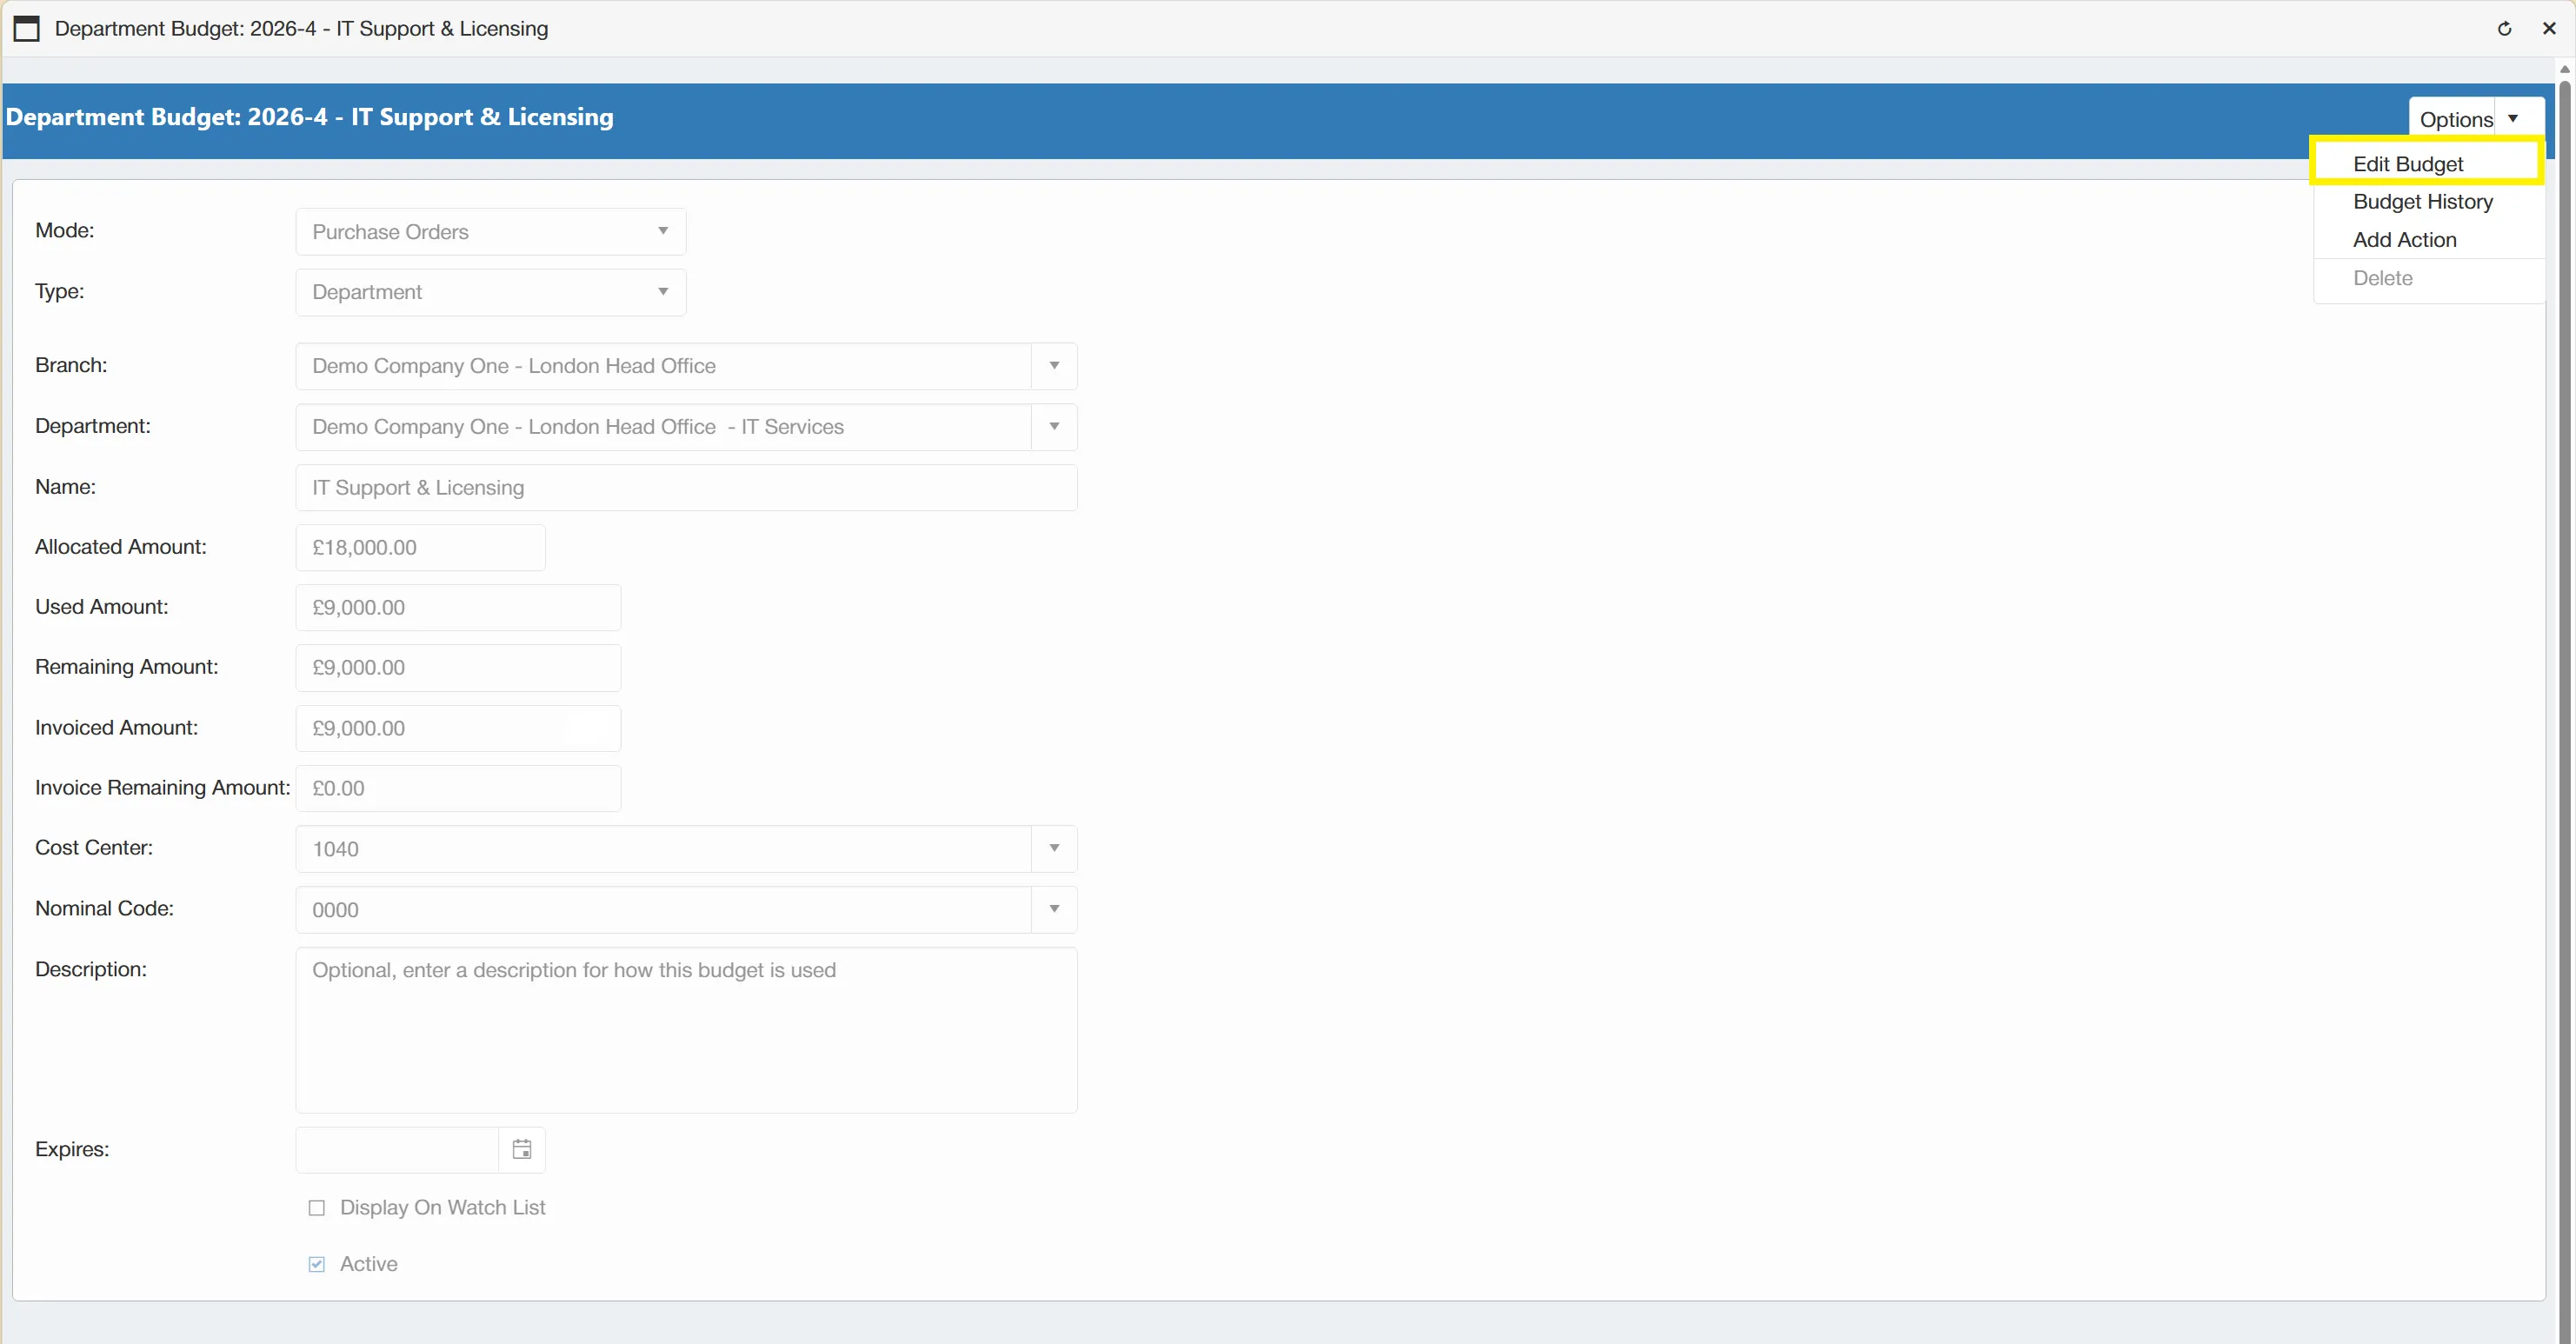
This will change some of the fields to accessible, meaning that you are now able to edit them.
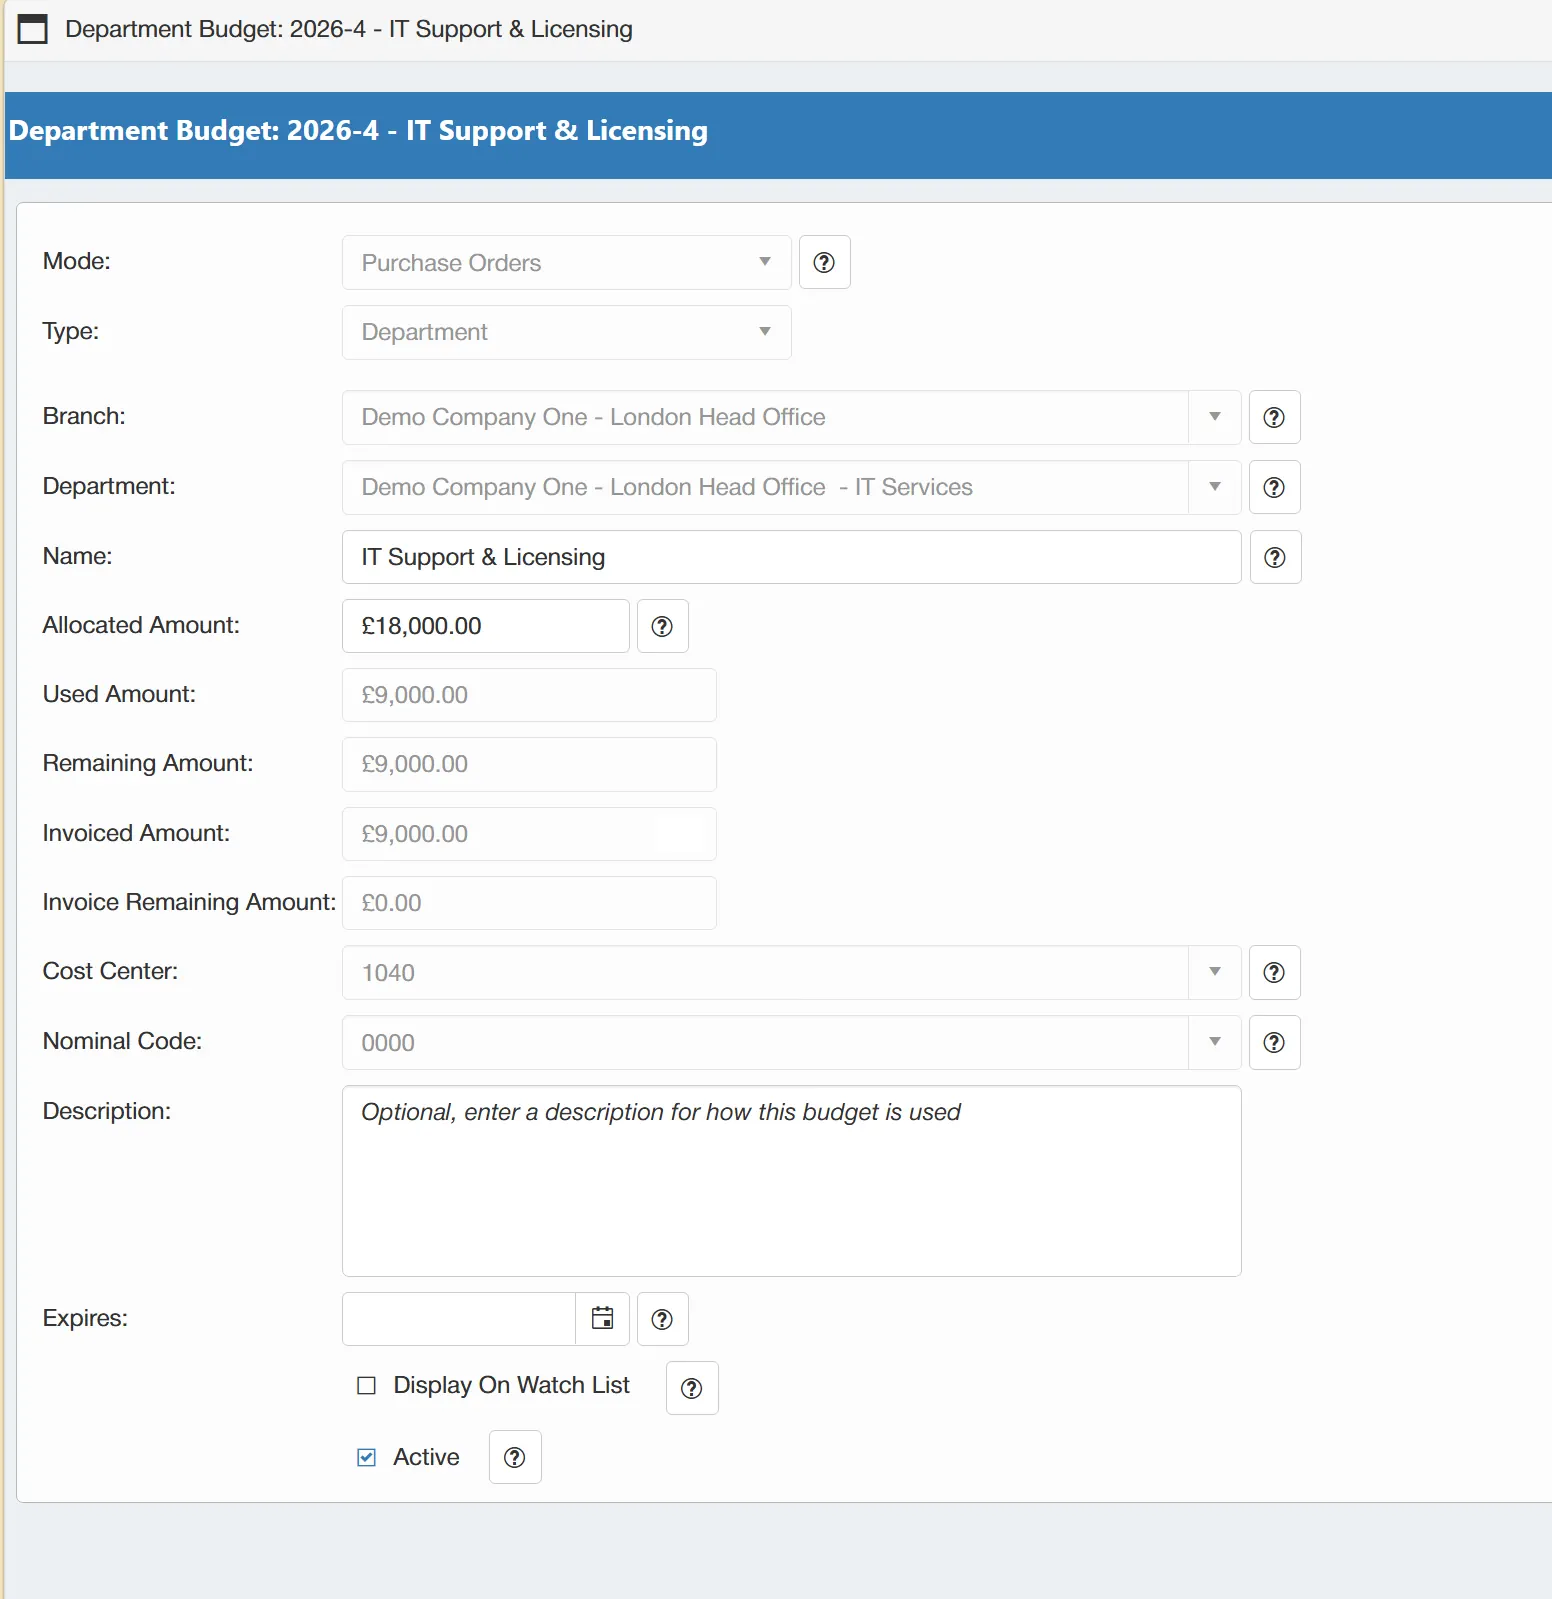
You can now change the name, edit the allocated amount, description, expiry date, choose to remove or add the budget to a watch list and even mark the budget as inactive.
You cannot change the Used, Remaining, Invoiced and Invoice Remaining amounts as these are locked. You are also unable to amend the Cost Center and Nominal Code if the budget has already been used.
Only users with the Budget Admin permission enabled can edit budgets. For information on user permissions, click here.
Once you are happy with your changes, click to commit these changes.
Deactivating a Budget
Once you have finished with a budget, you will want to prevent users from raising more PO's against it. The system does not allow you to simply delete a used budget as it's history will be required for audit purposes. The alternative solution is to mark the budget as Inactive.
To do this, you need to begin editing a budget. For information on editing budgets, click here.
Once you have enabled the Edit mode on the budget, you can simply un-tick the ☐ Active? box to mark the budget as inactive.
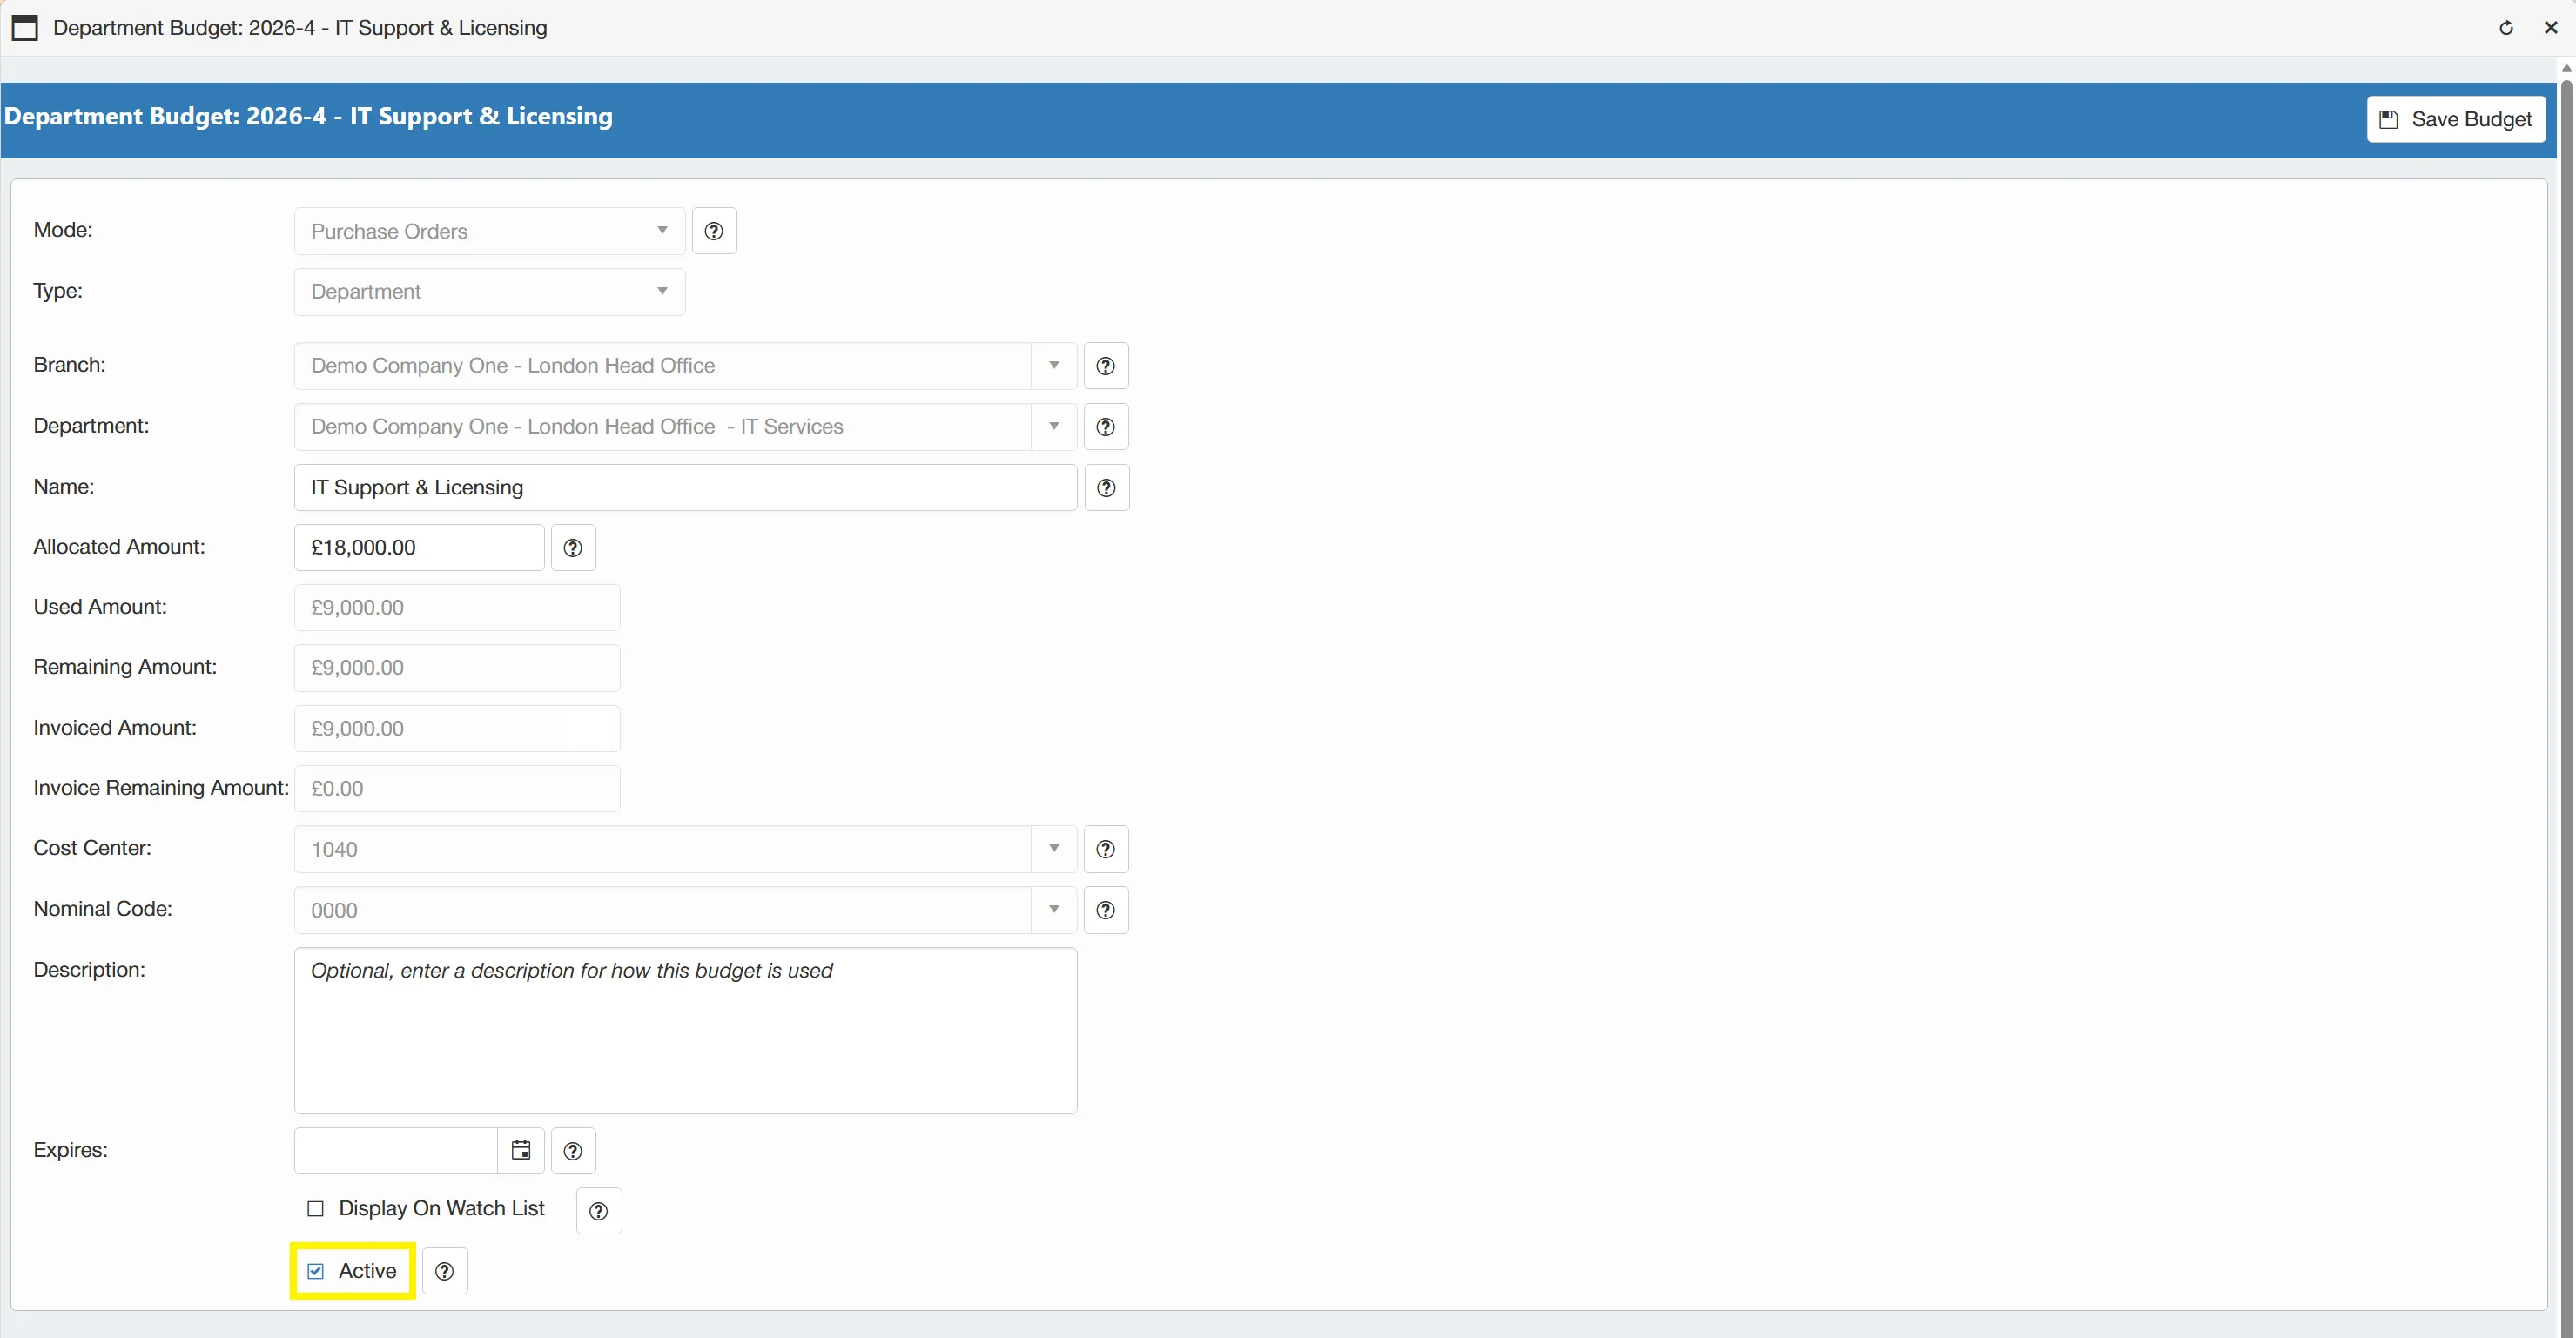
Then, click to finalise this change.
Users will now be unable to raise any further orders against this budget.
You can re-activate the budget by simply ticking the ☐ Active? box.
Only users with Budget Admin permission enabled can edit budgets. For information on user permissions, click here.
Deleting a Budget
Whilst the system will not allow you to delete a used budget, it will let you delete a budget that has not been used. This is perfect for situations where you have created a budget in error and do not wish to use it.
Budgets can only be deleted if they have not been used. If a budget has been used, you must deactivate it instead.
To delete a budget, simply select from the drop down menu.
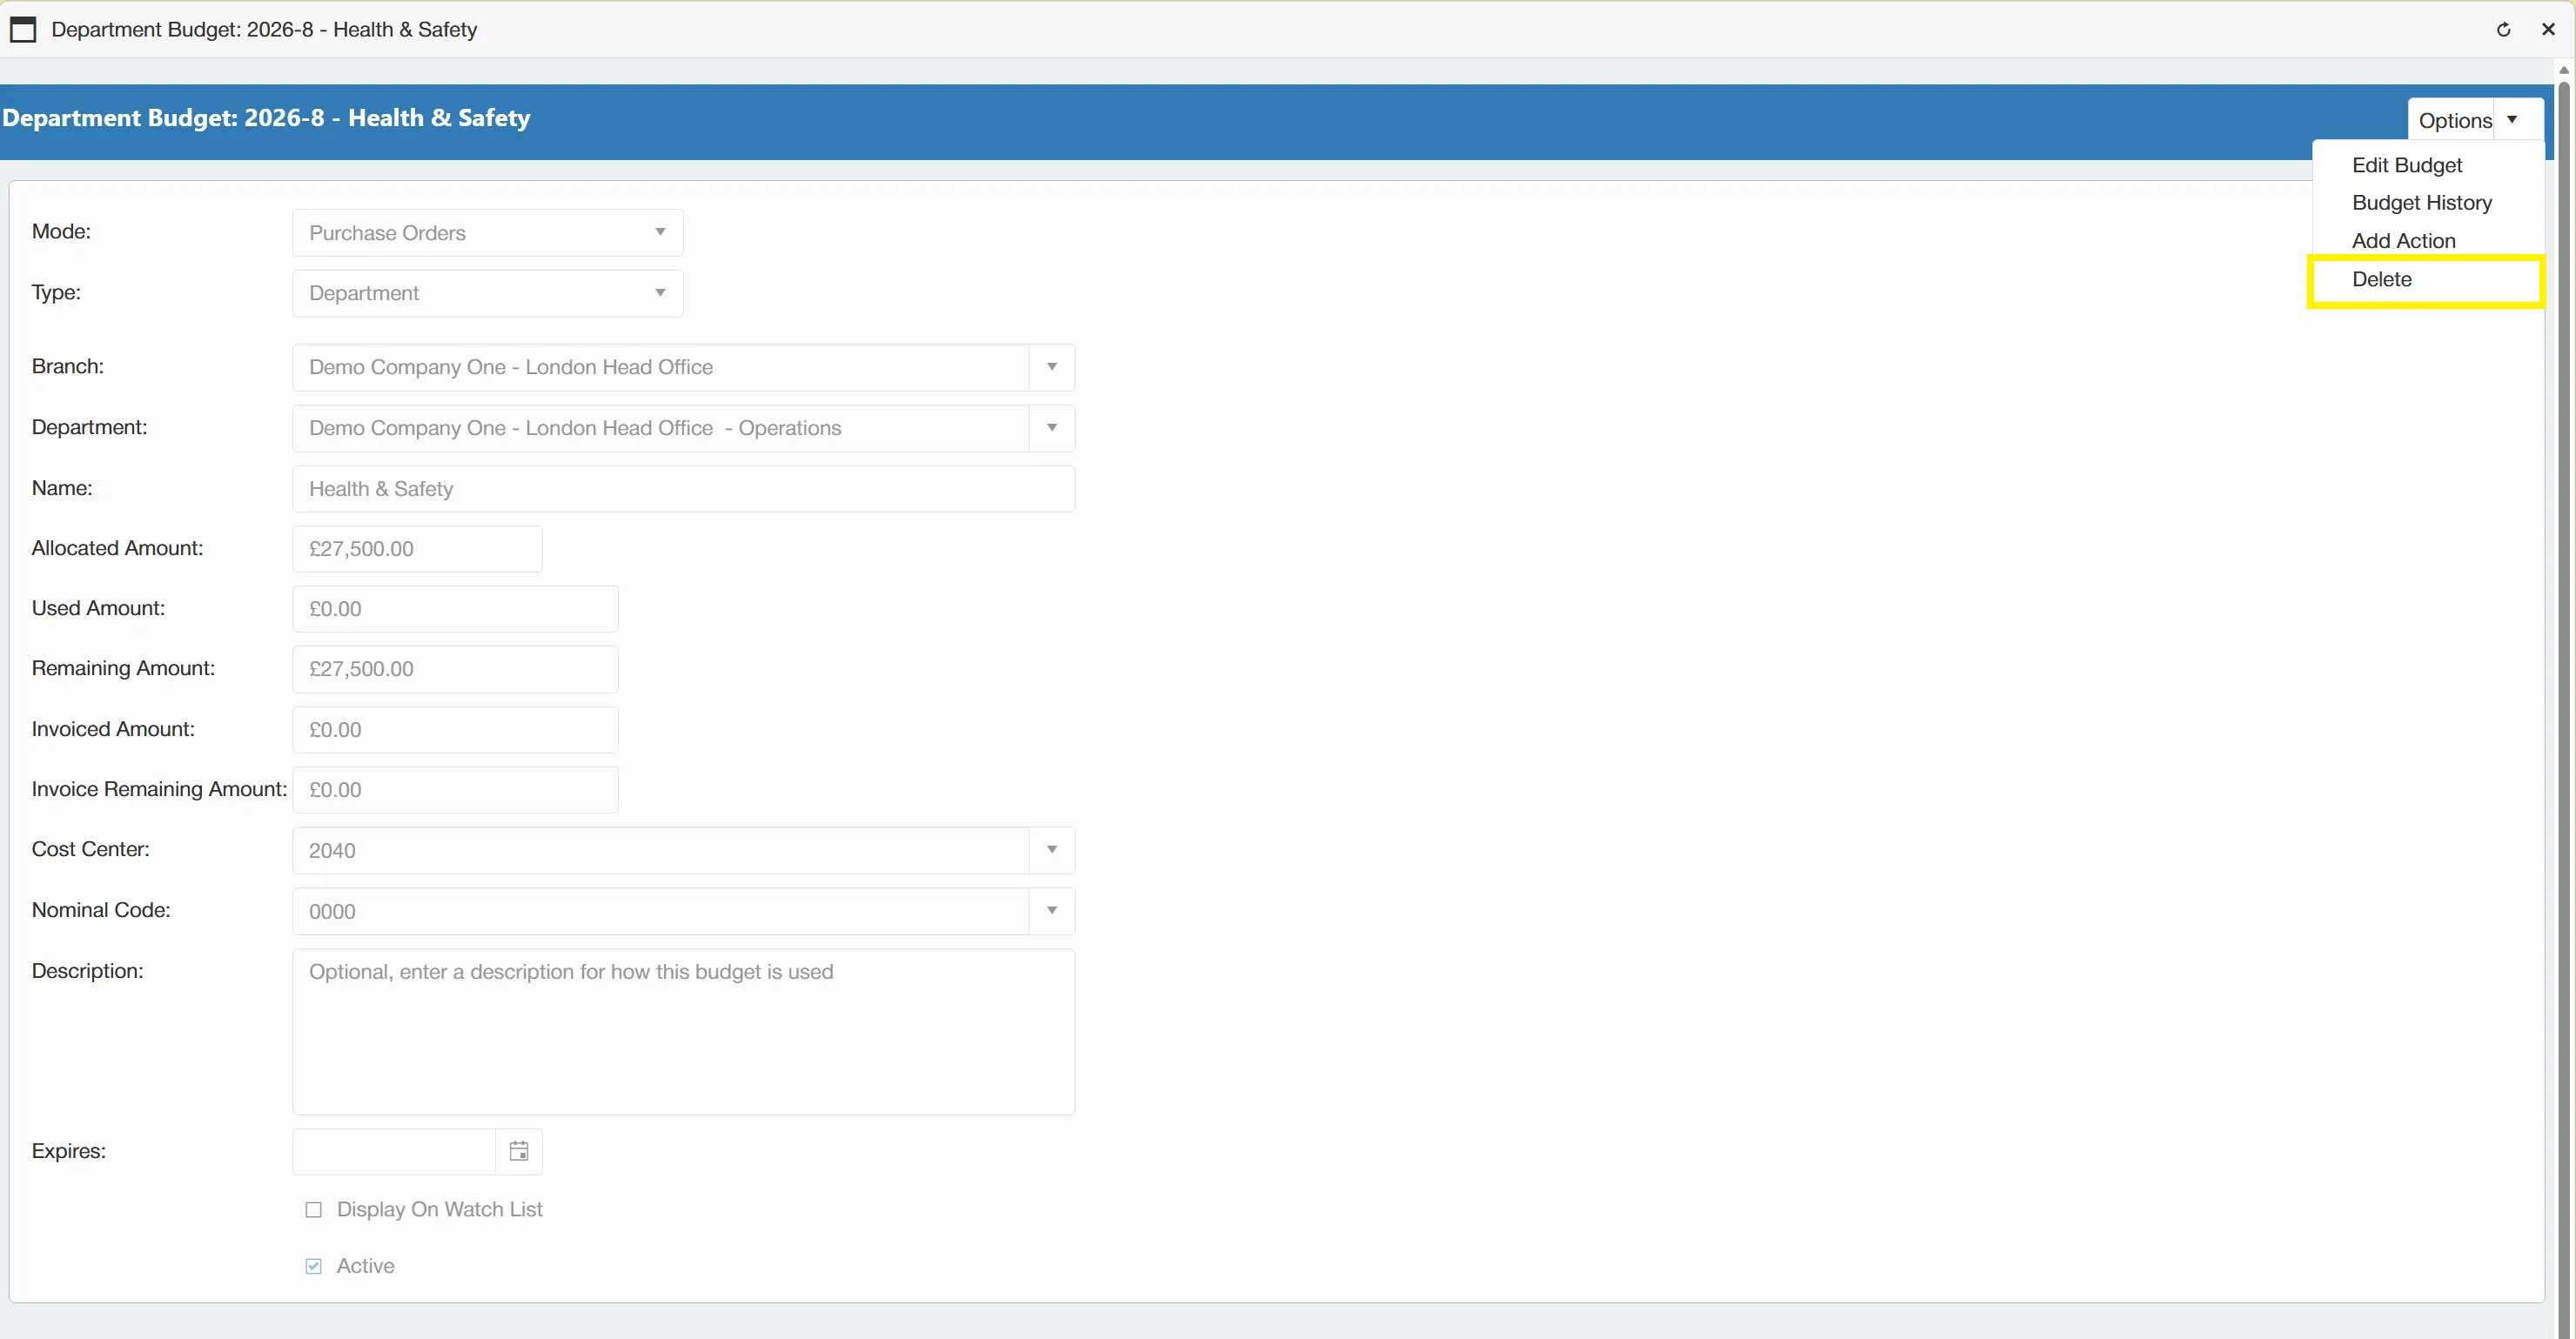
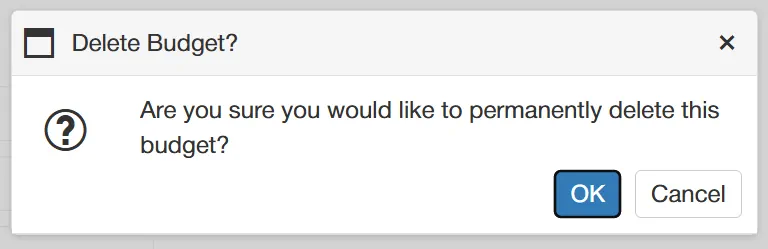
A new dialog box will appear asking you to confirm that you would like to permanently delete the budget. Select to proceed.
Only users with the Budget Admin permission are able to delete budgets. For information on user permissions, click here.
Viewing Budget History
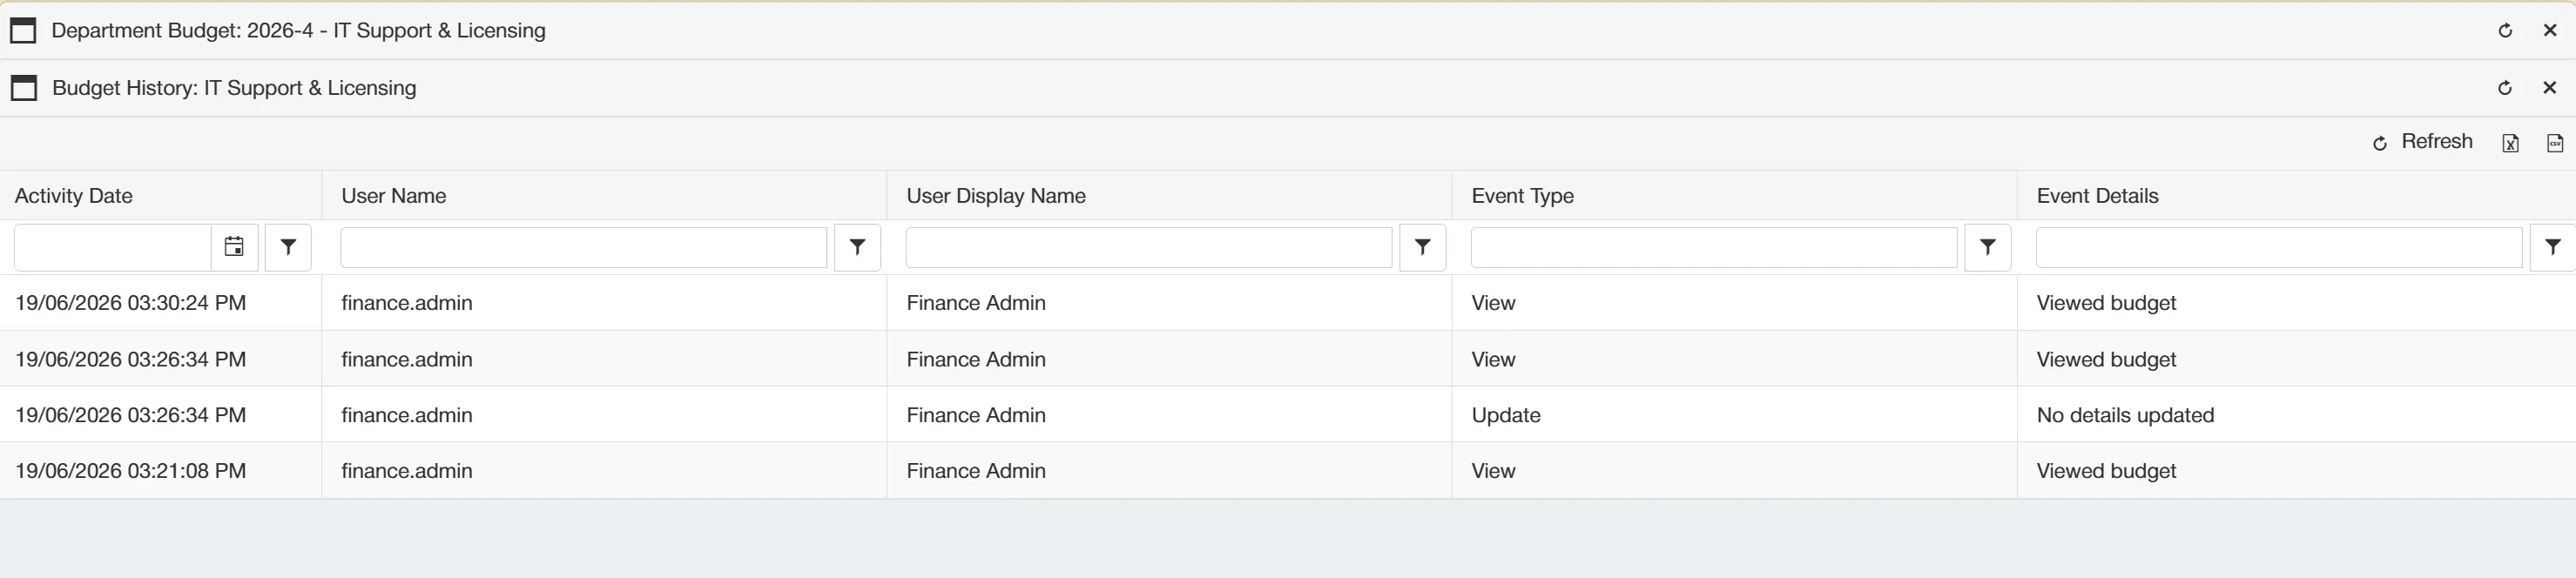
The system logs any changes or actions against a budget for audit purposes. Users are able to view the history from the Budget Window by finding and selecting the desired budget. For more information on finding budgets, click here.
To view a budget's history, simply select from the drop down menu.
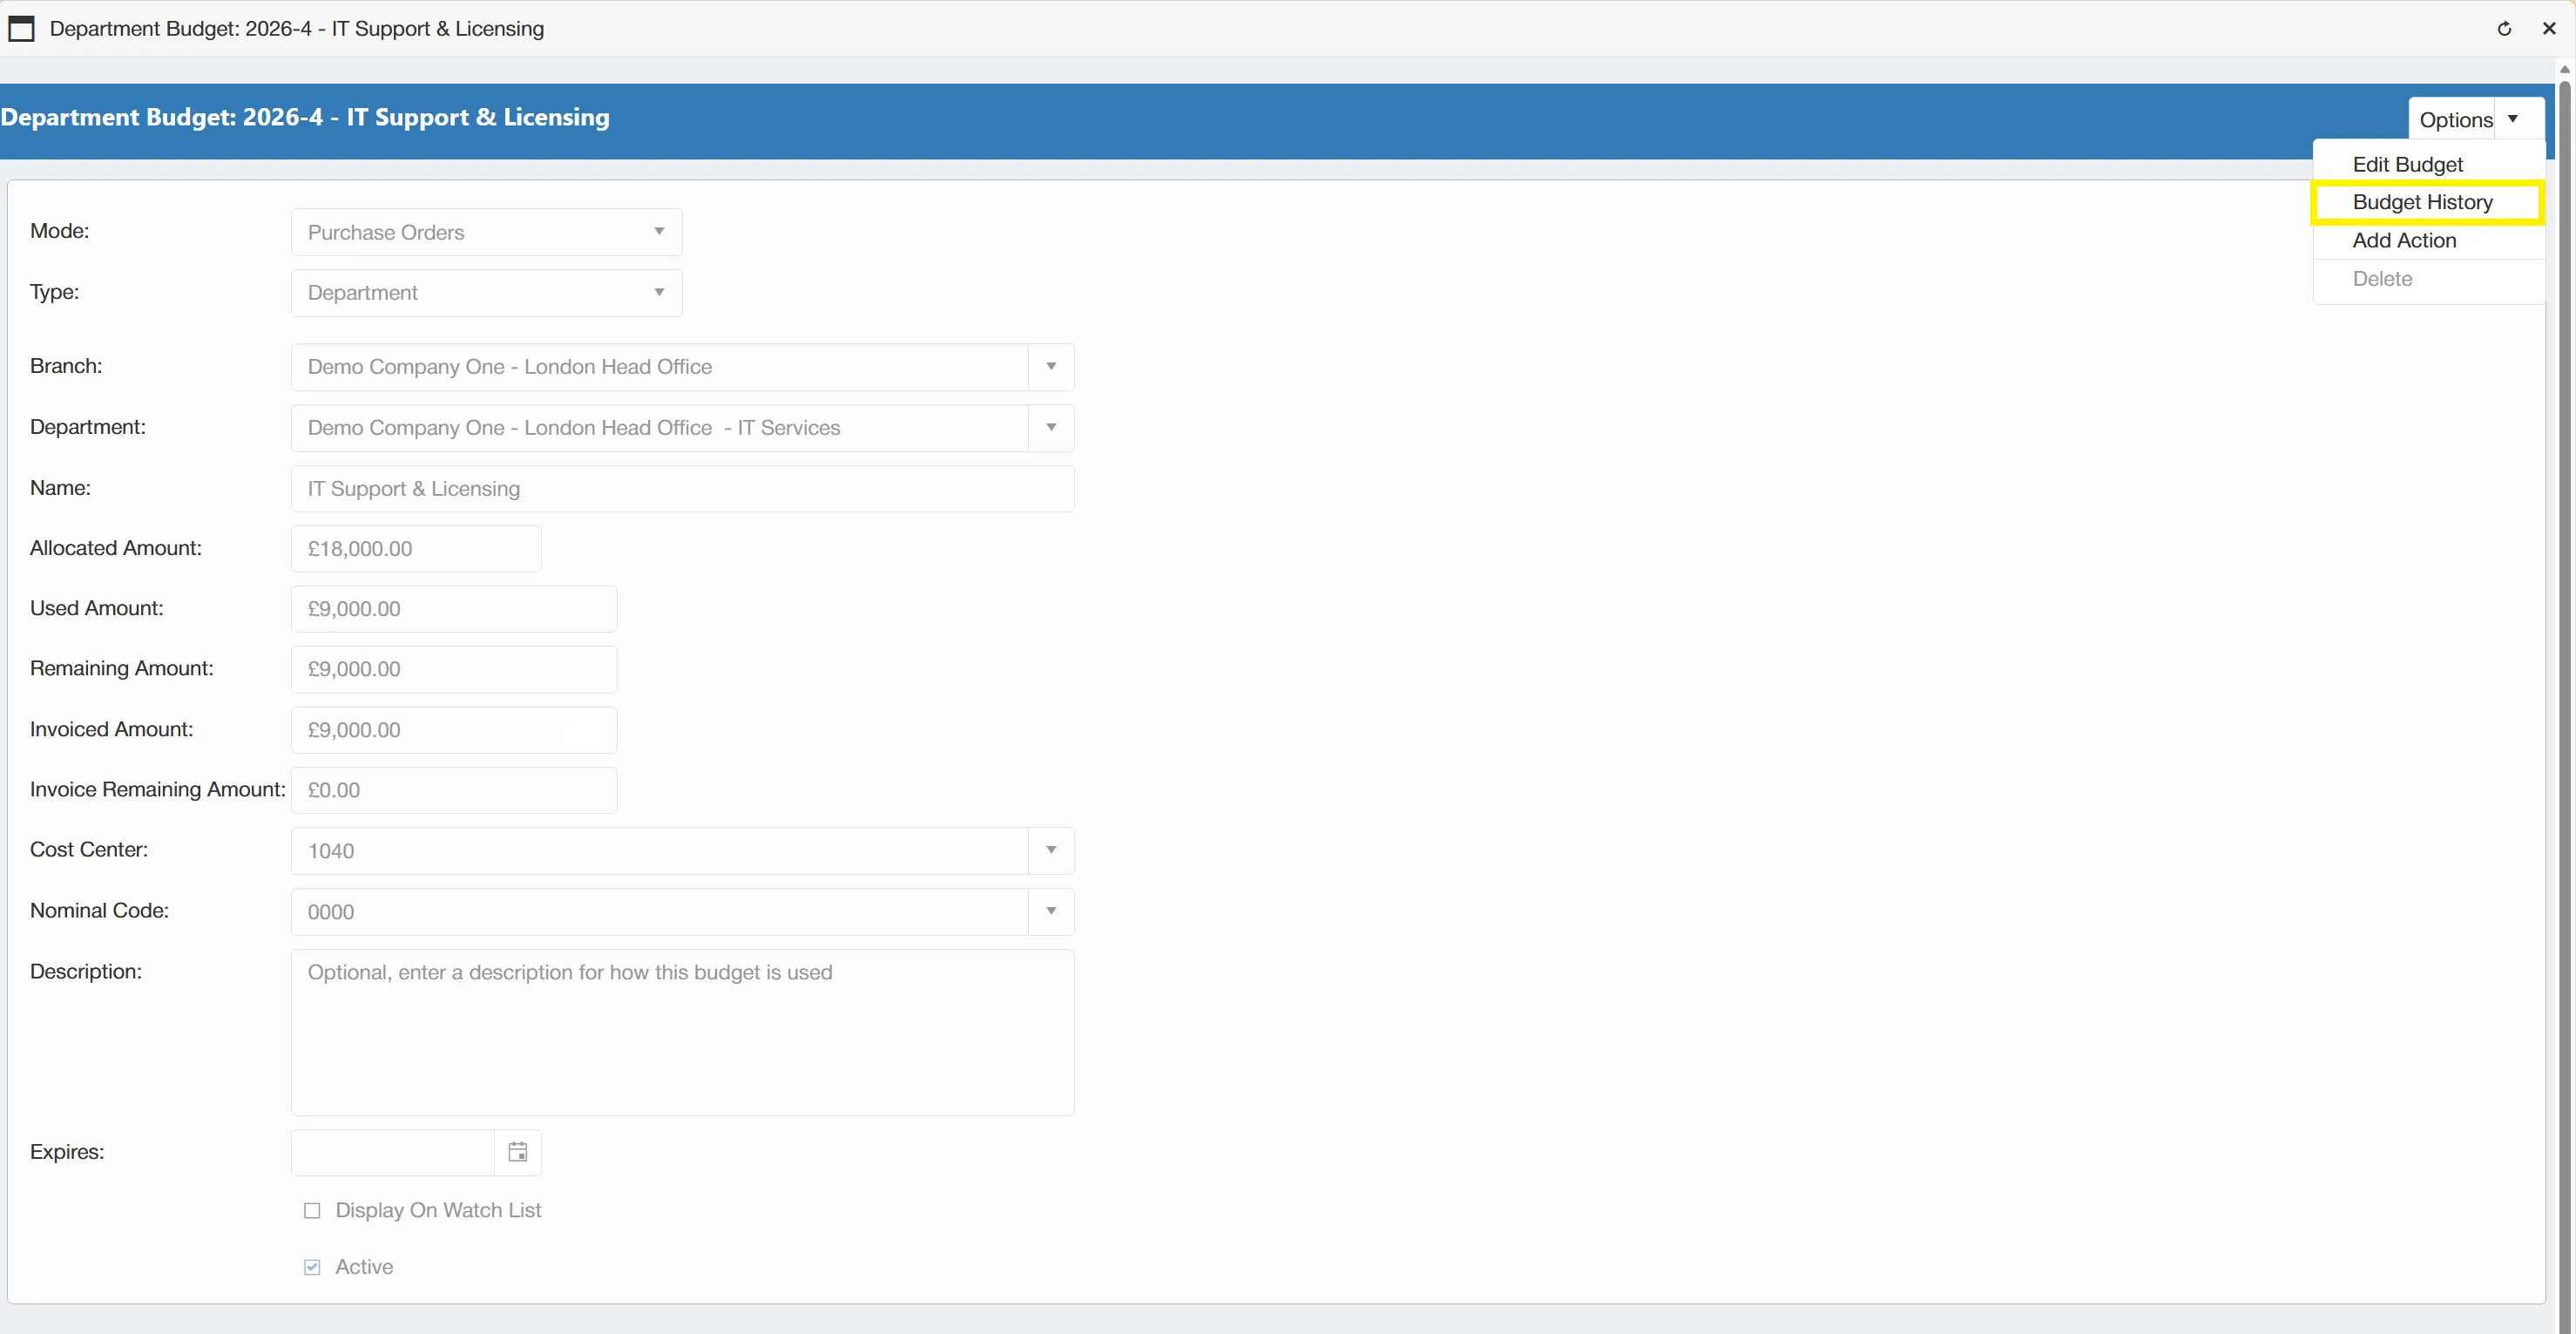
This opens a new window displaying a grid which contains a log of any actions against the budget, such as; when the budget was created, when it was edited and when it was viewed. It also logs the users against each relevant action.